Unattainable Landscapes

It’s been over a month since I have gone anywhere but the doctors office or the hospital. In light of my recent confinement due to a global pandemic and subsequent breaking of my left foot, I have started creating landscapes. Dreamscapes or unattainable landscapes that combine photos of far off places and layered with impossible weather patterns, waving rainbows, and even shimmering hair.

I’m posting them regularly via @nikistyxx using the hashtag #unattainablelandscapes.

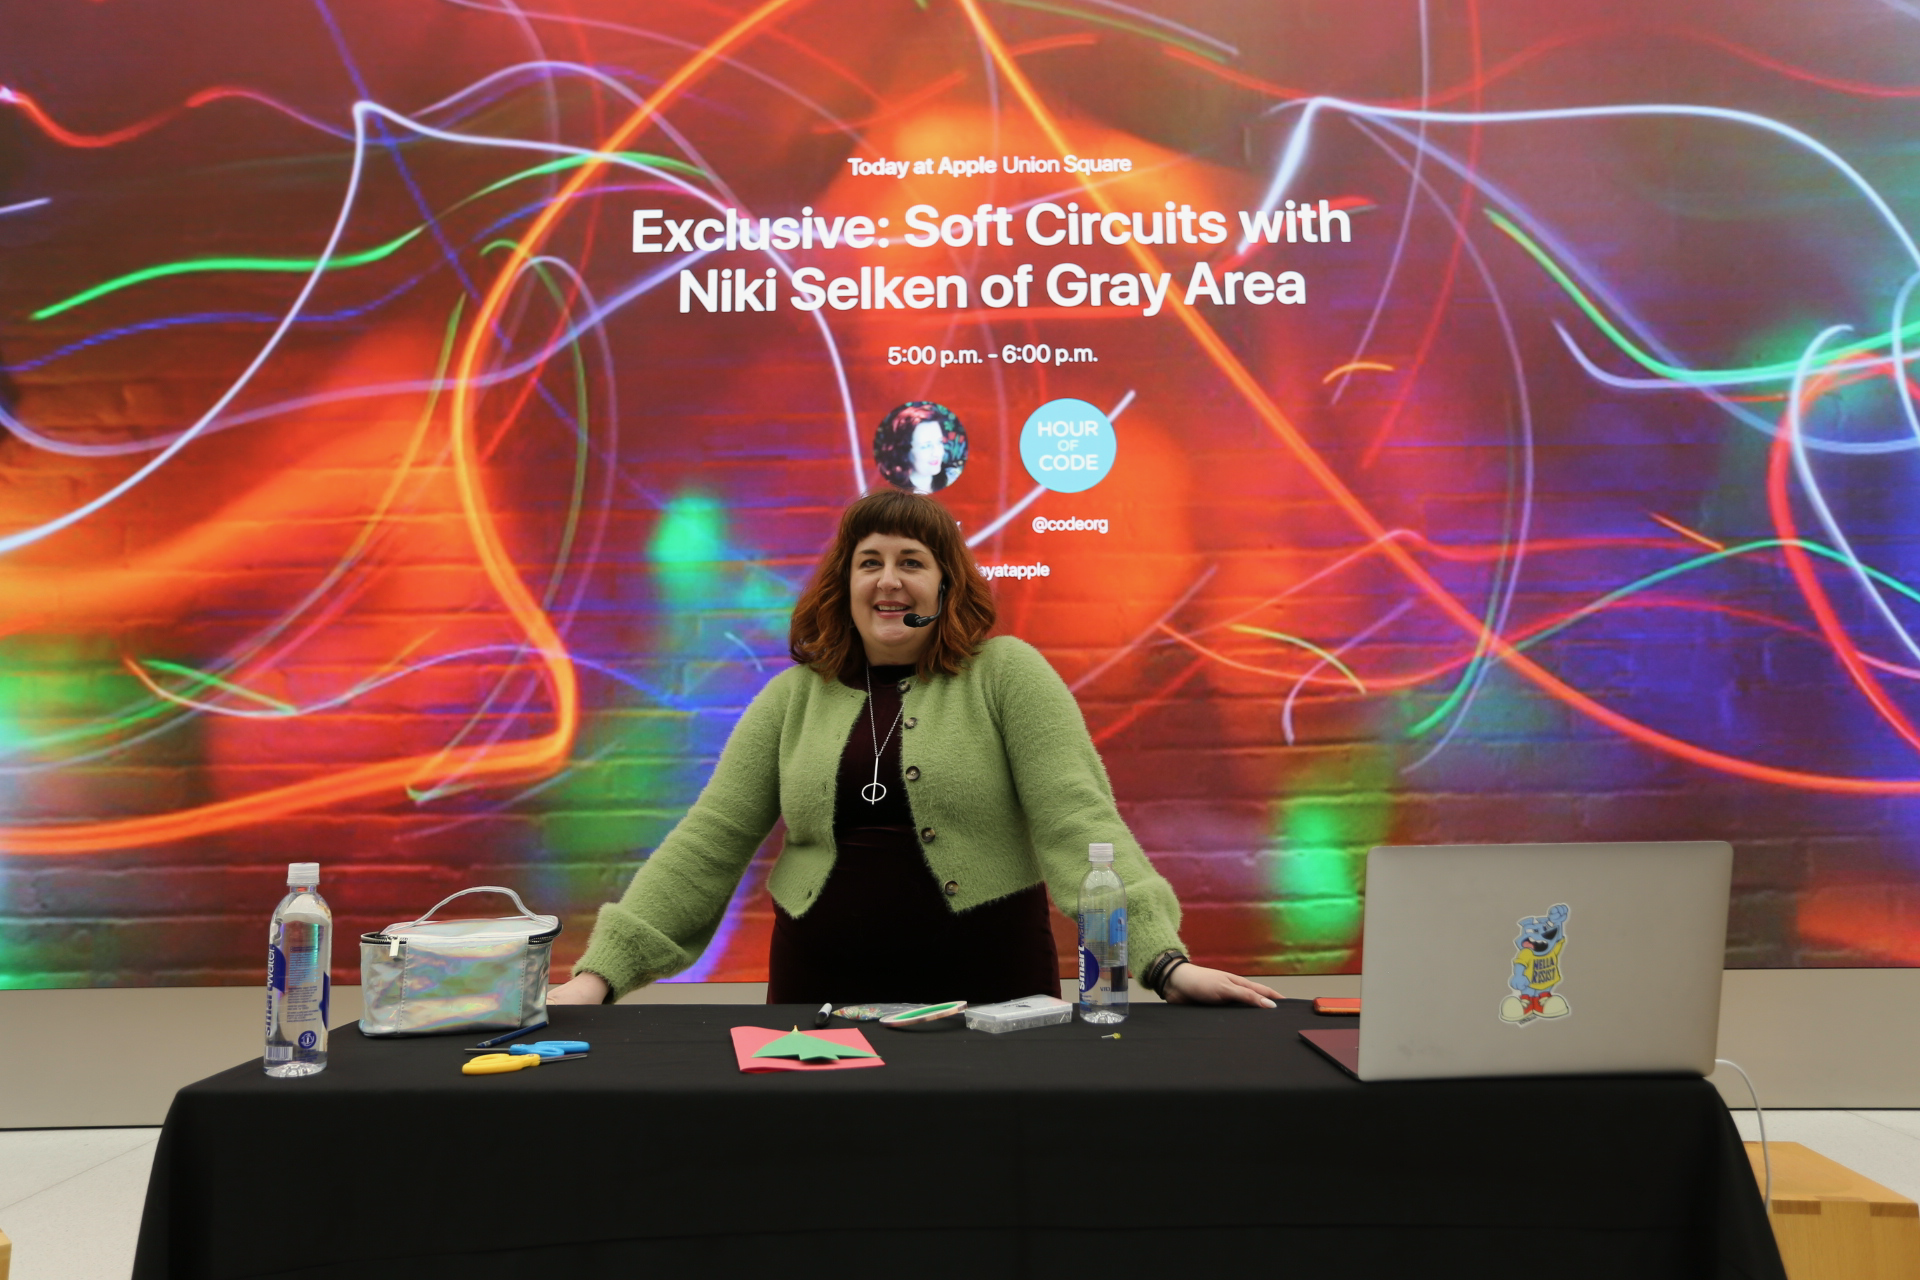
Join me for a FREE Soft Circuits Workshop with Today at Apple

Join Me on December 5th at 5pm for a Soft Circuits Workshop as part of The Hour of Code at the SF Apple Store.

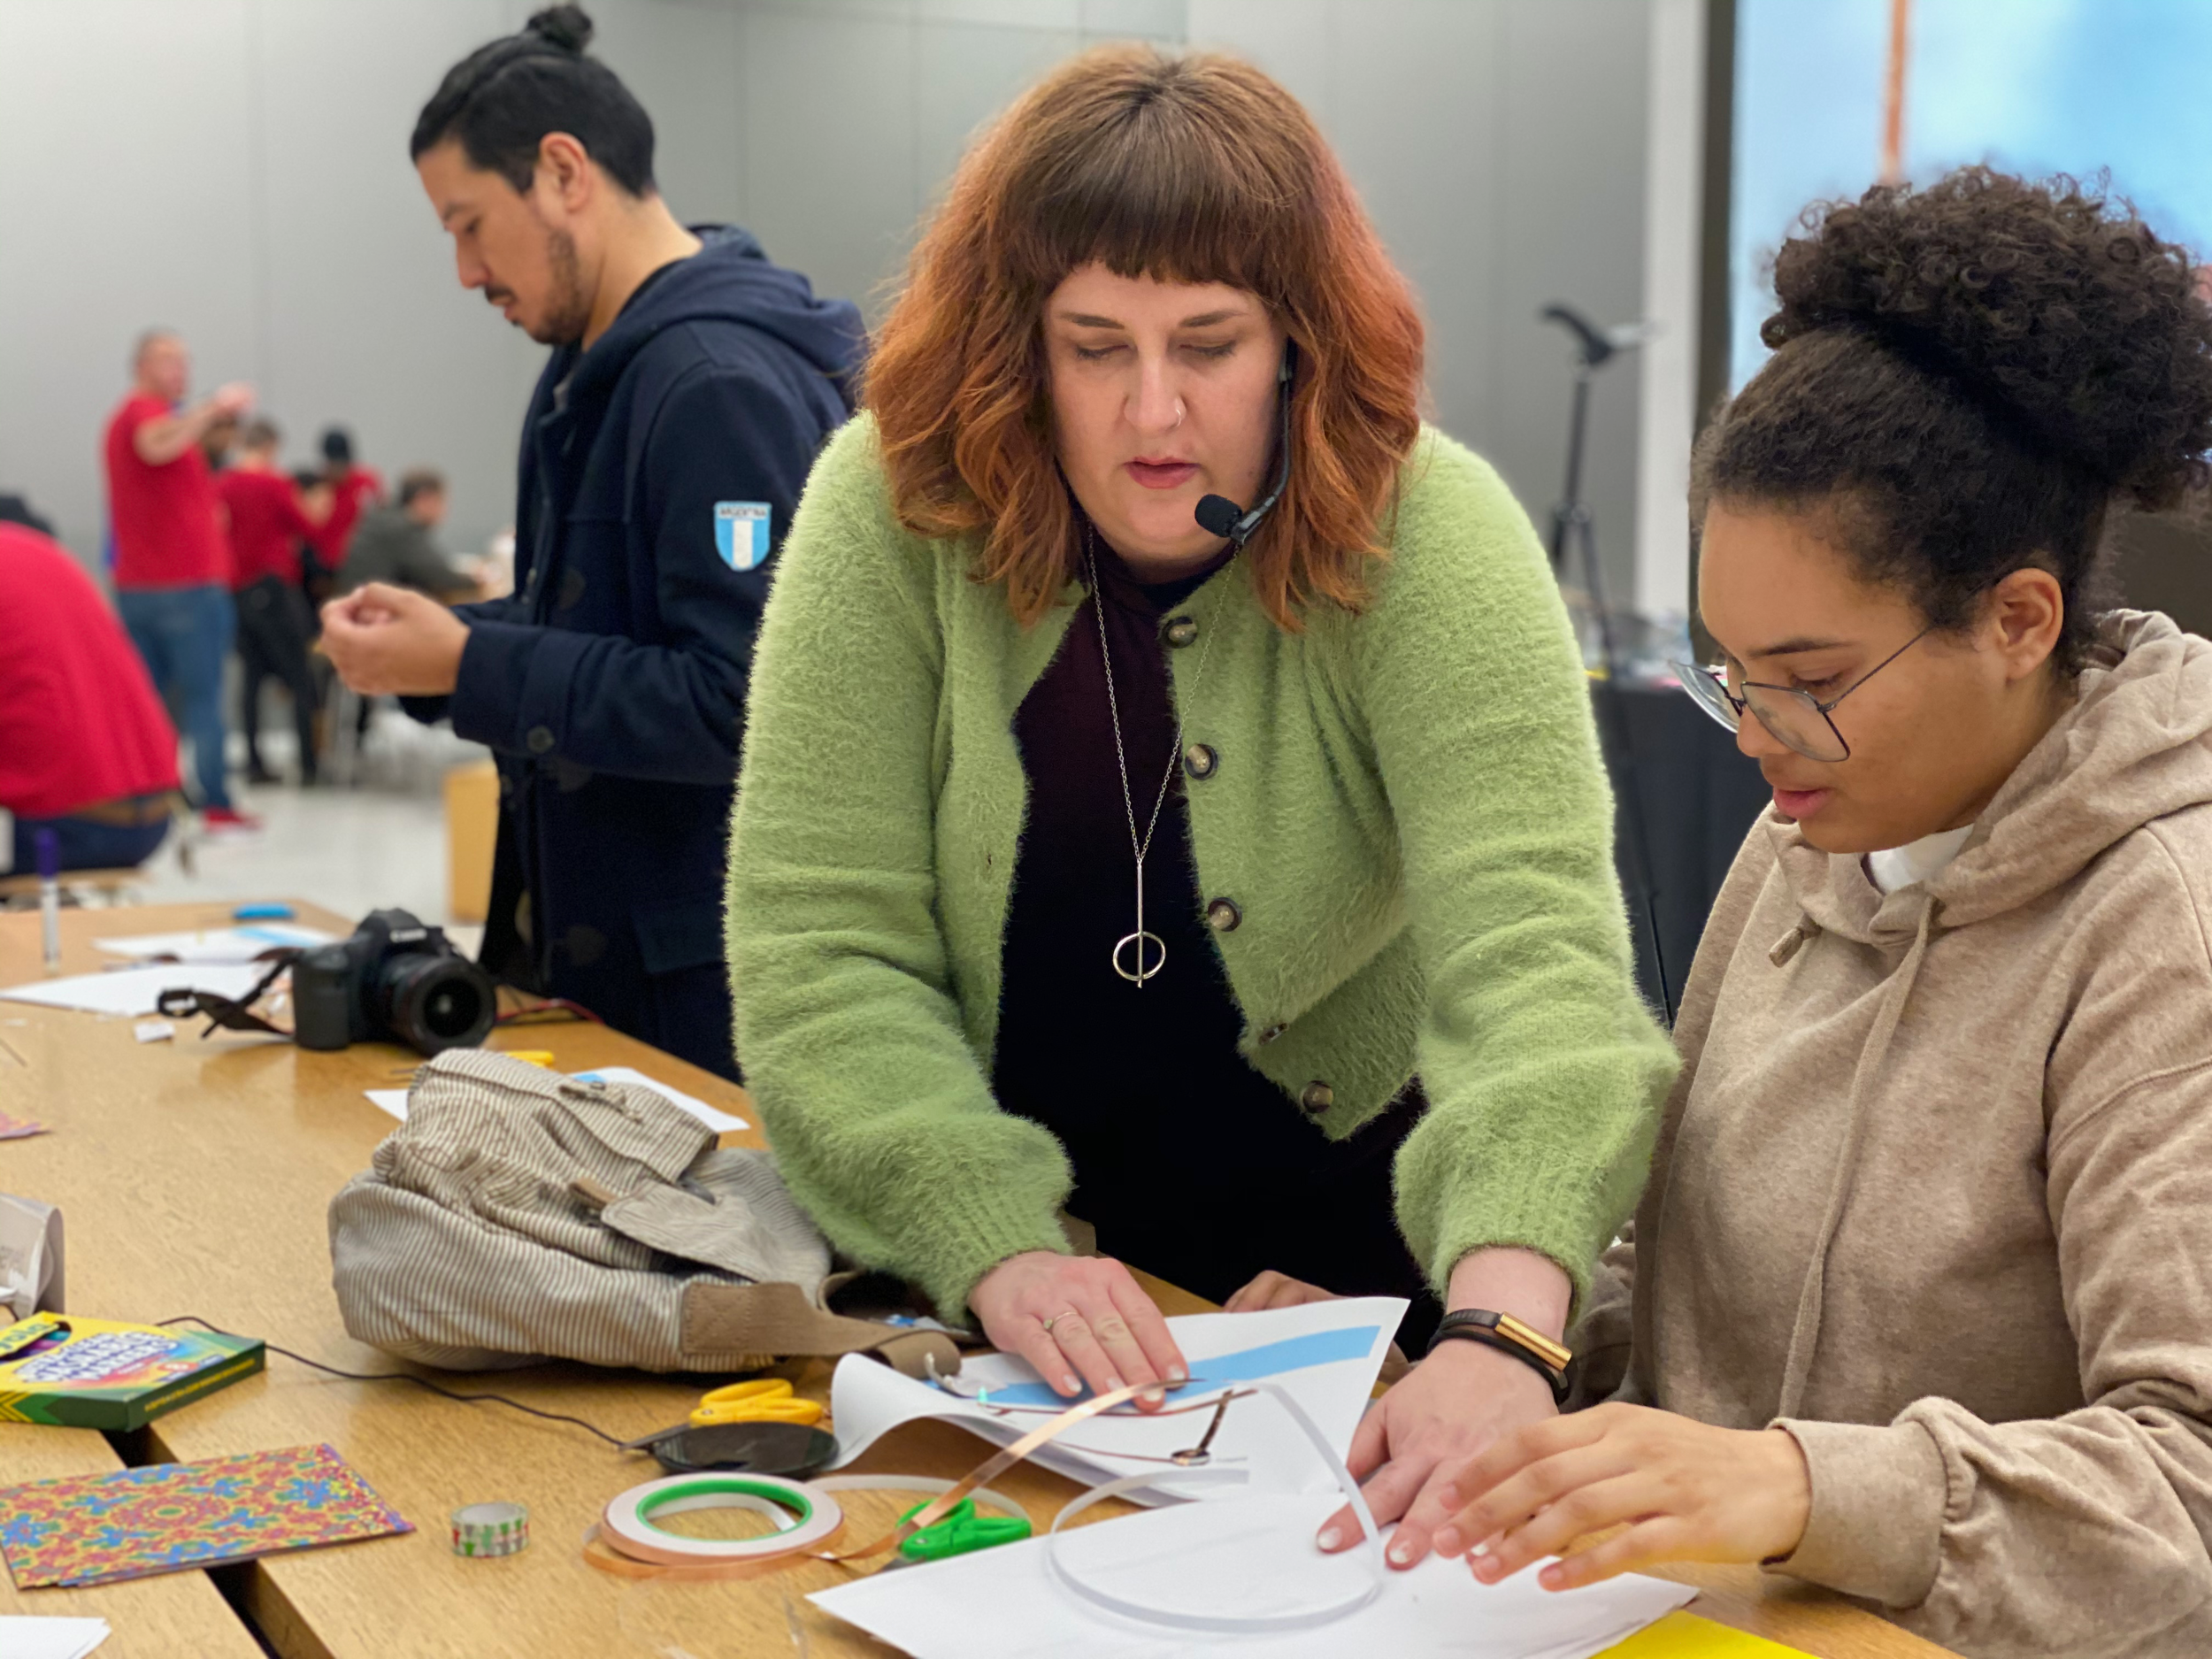
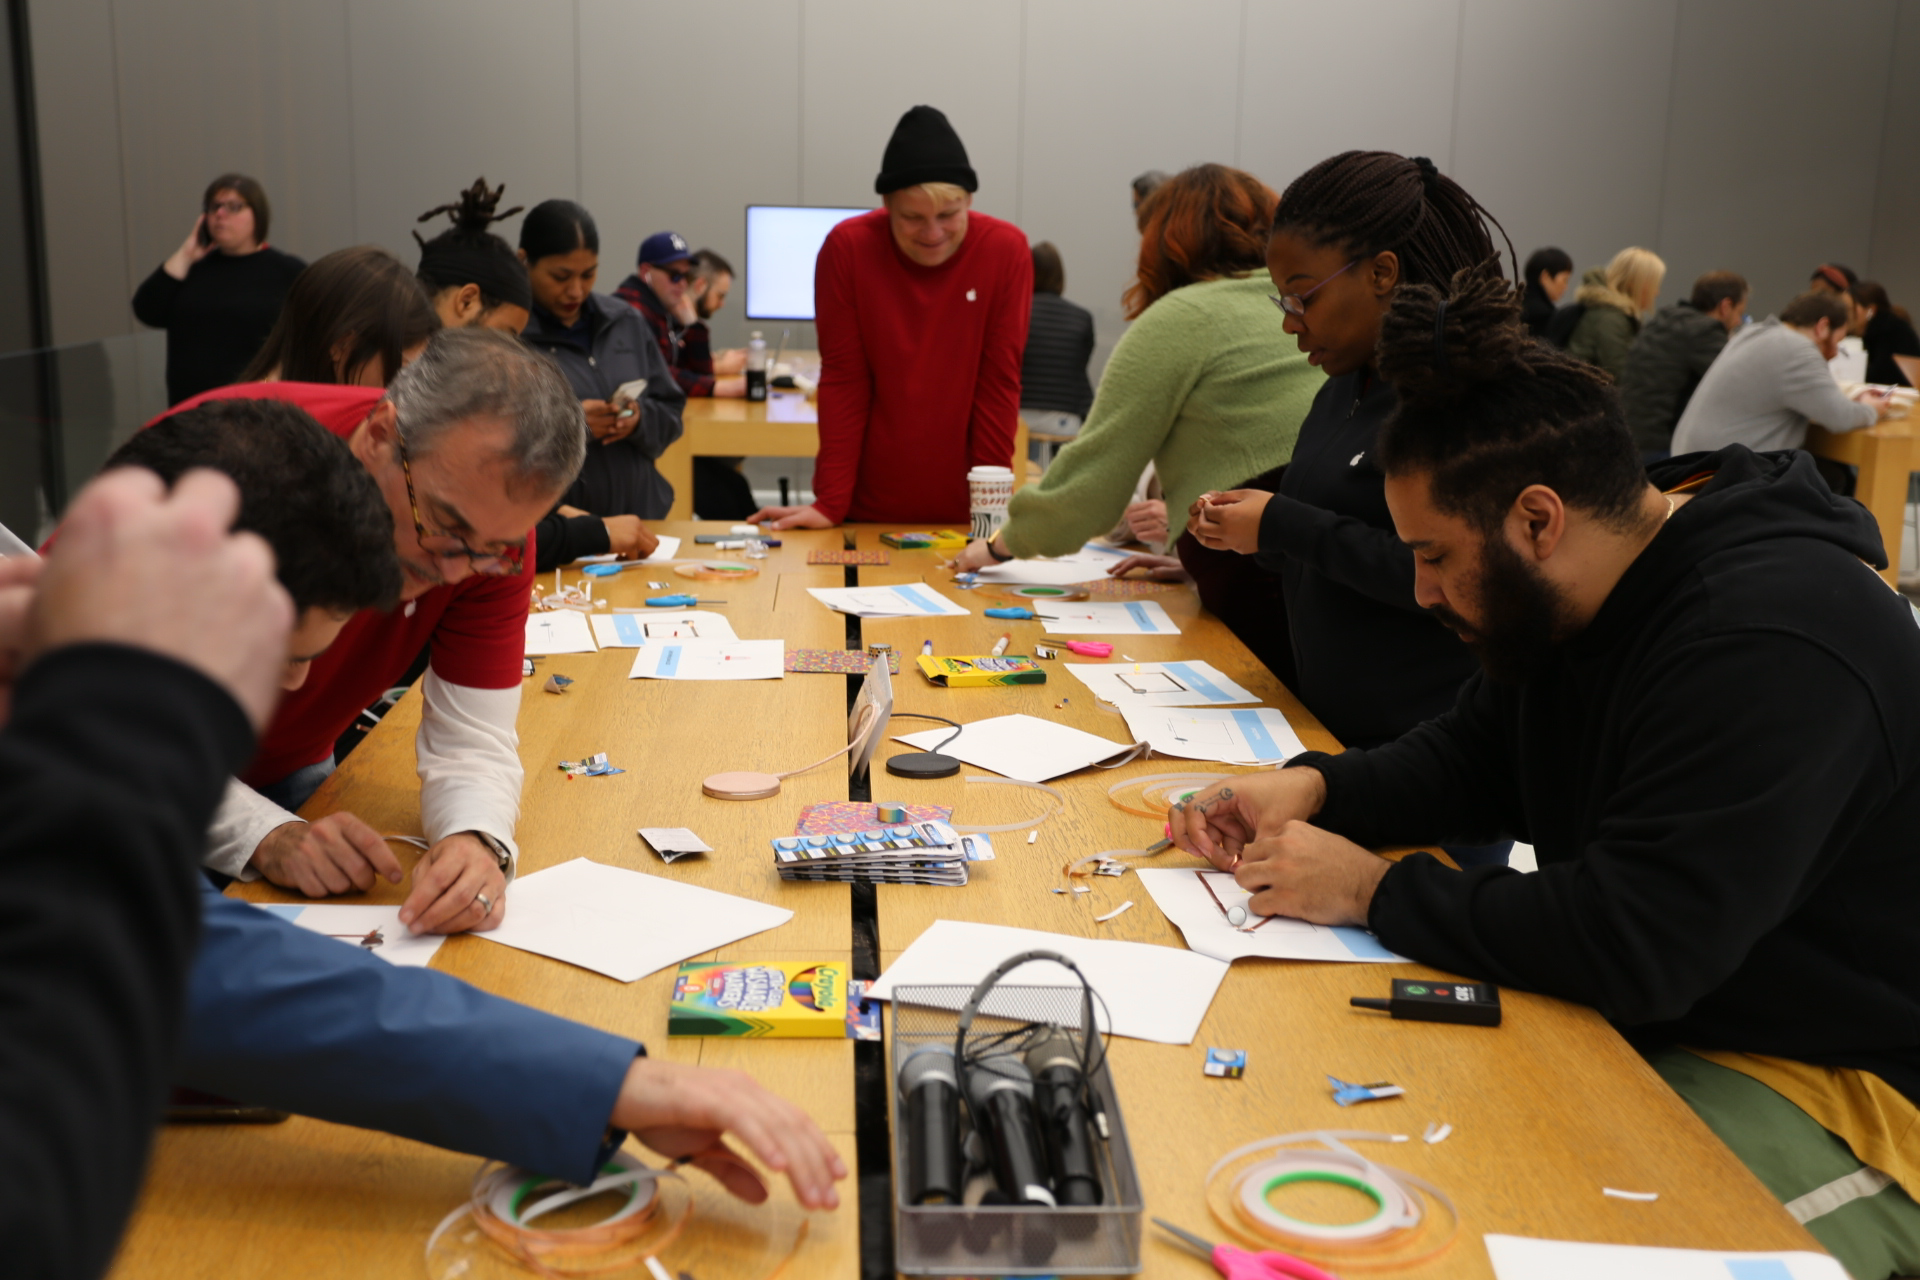
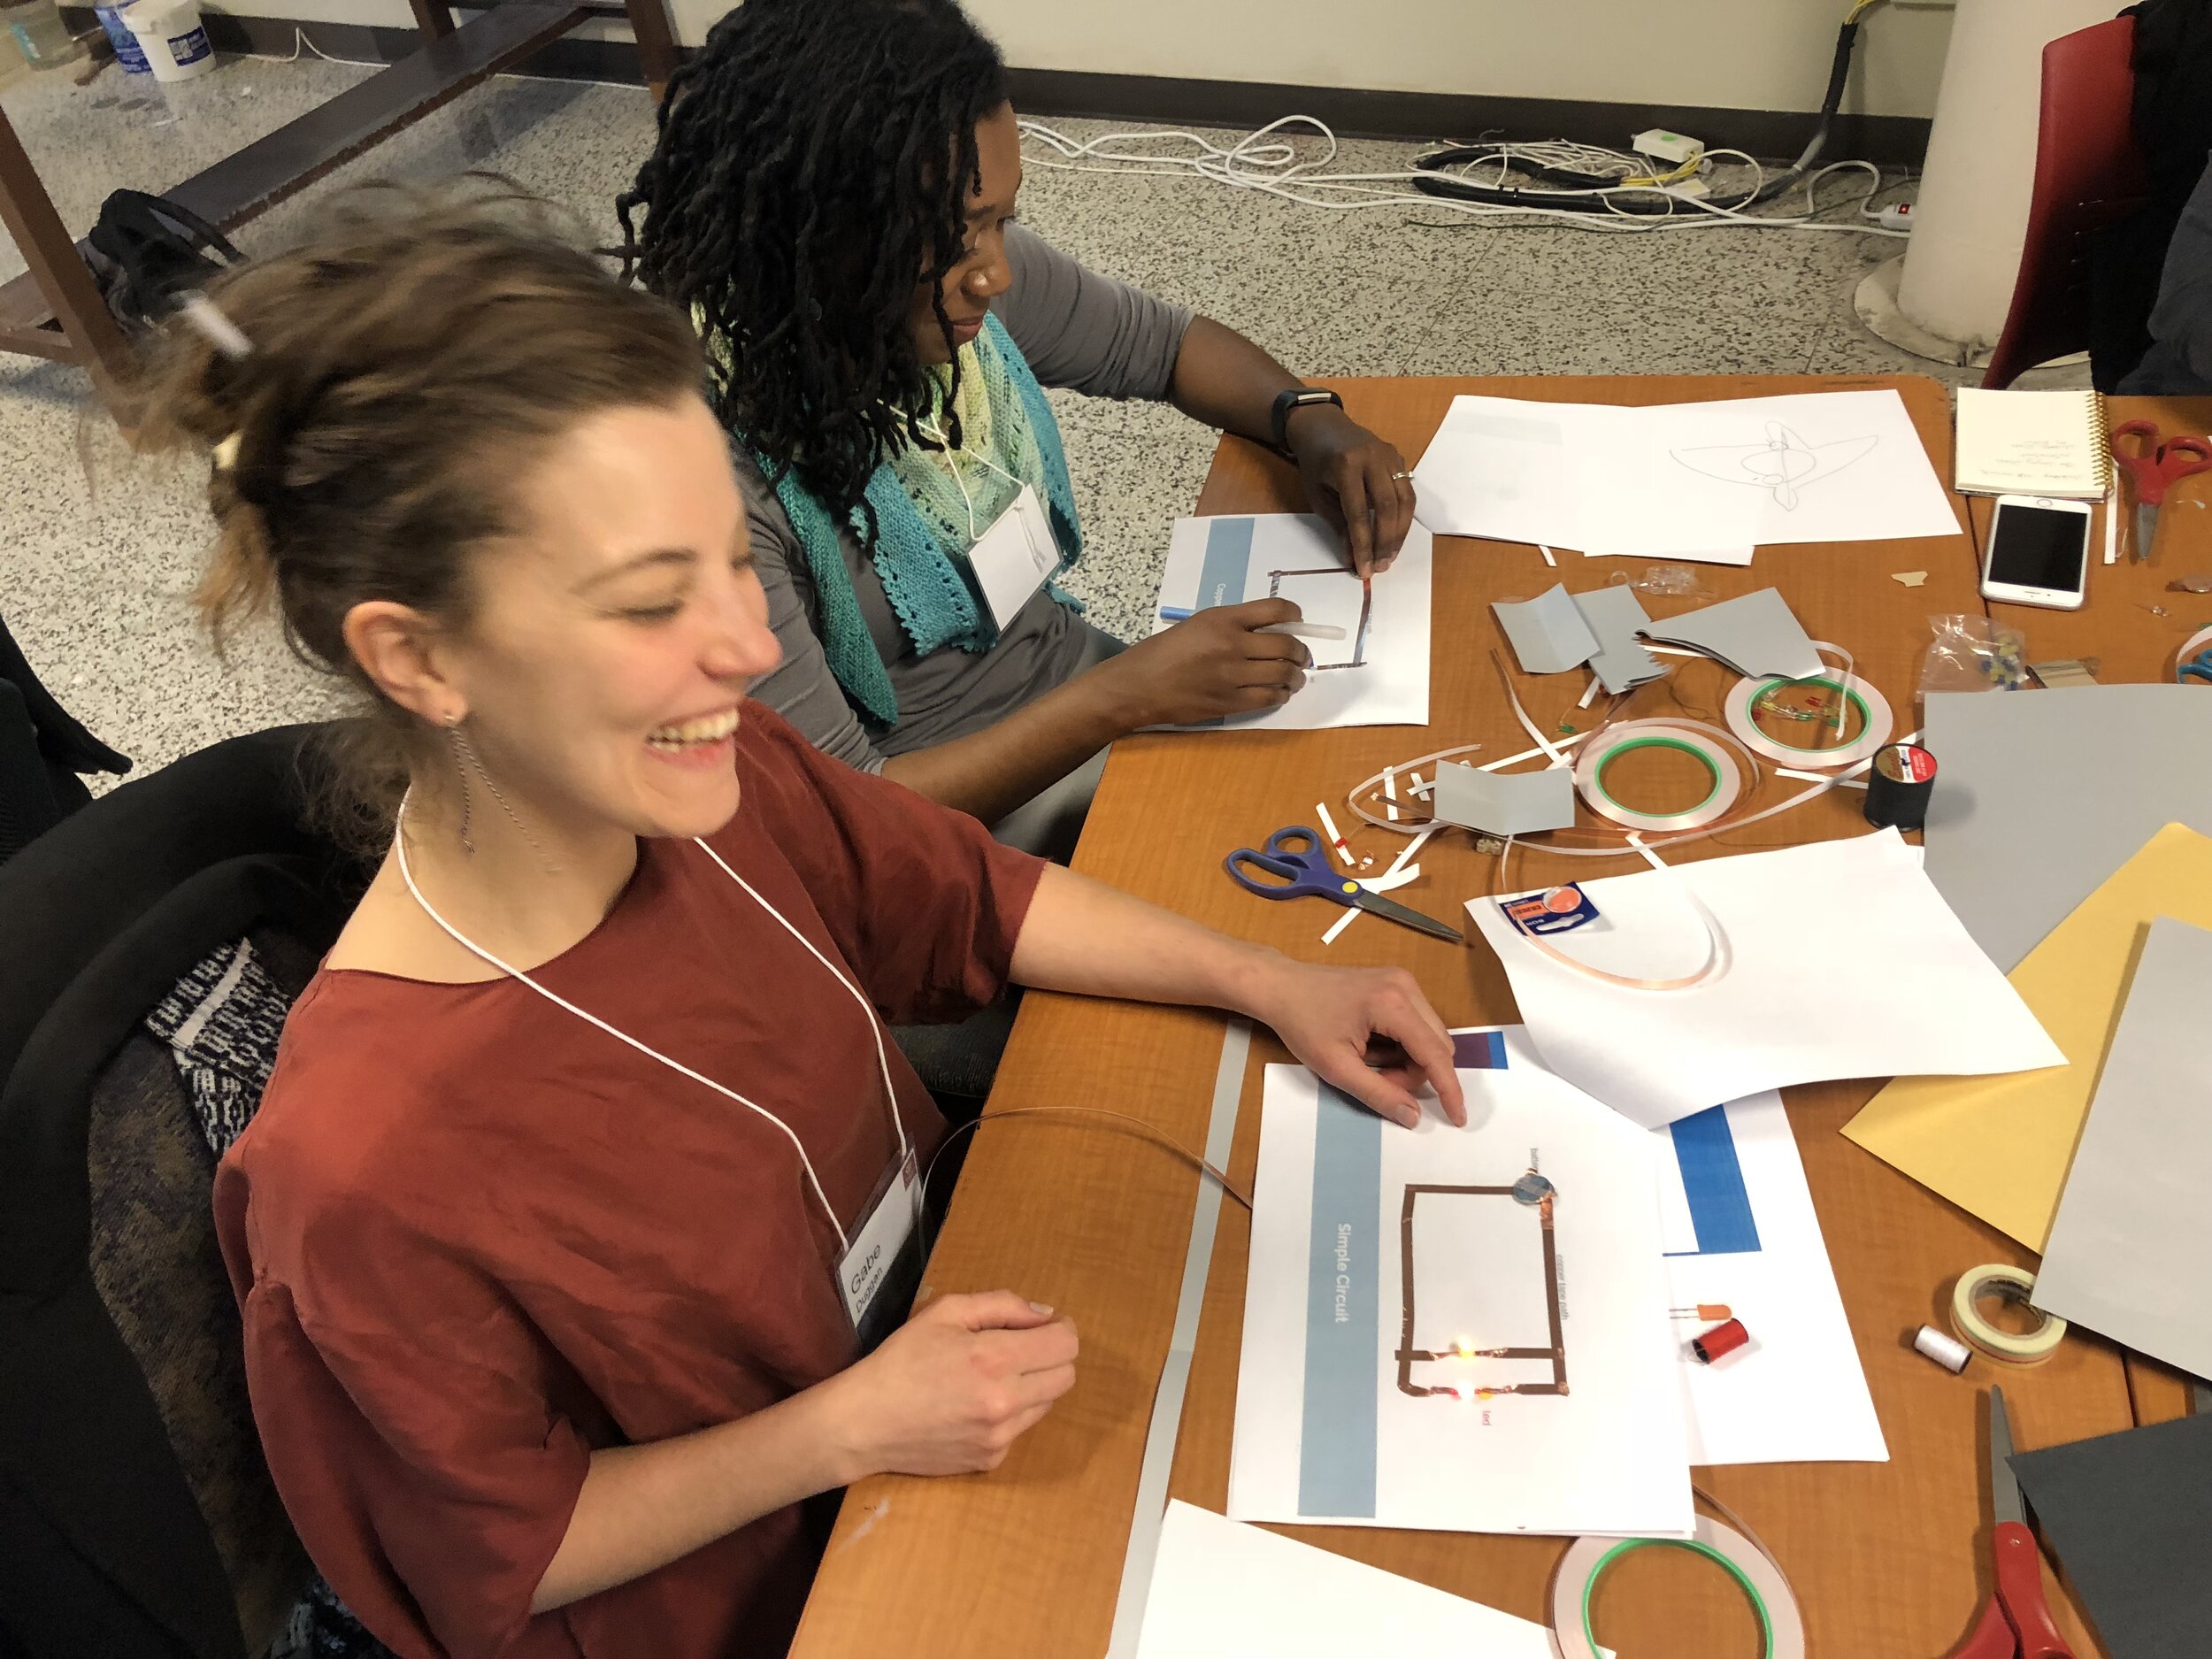
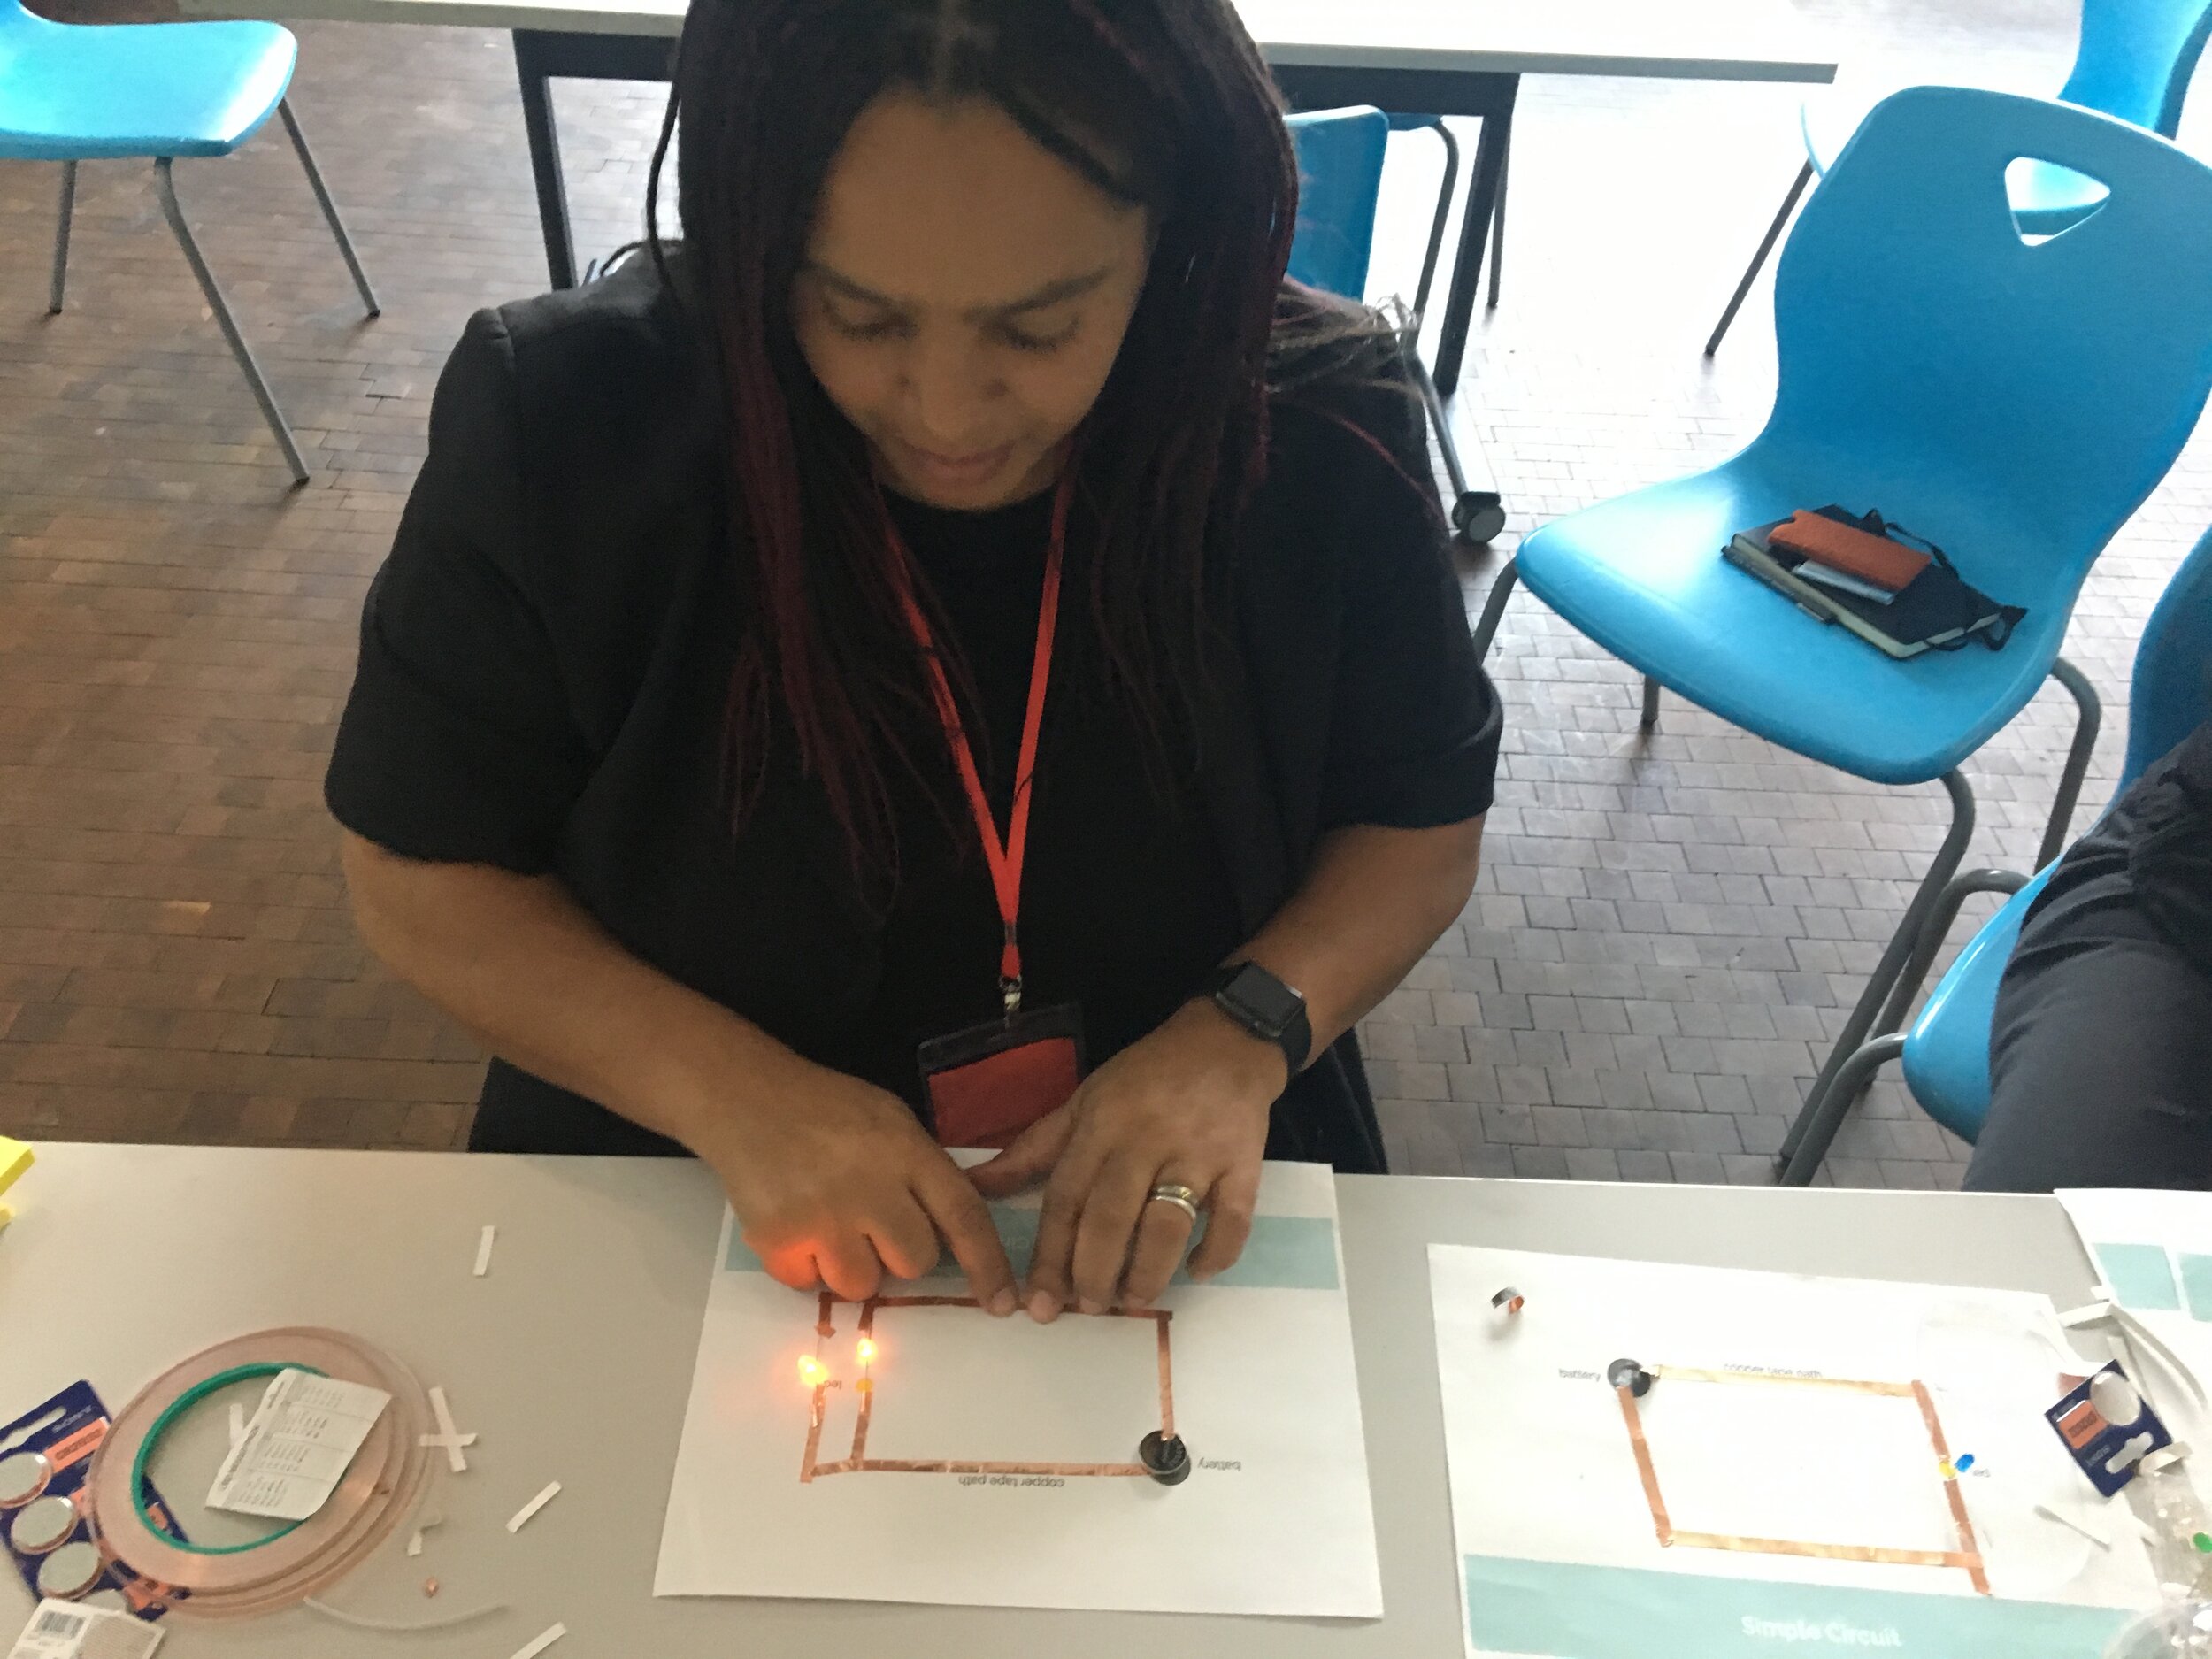
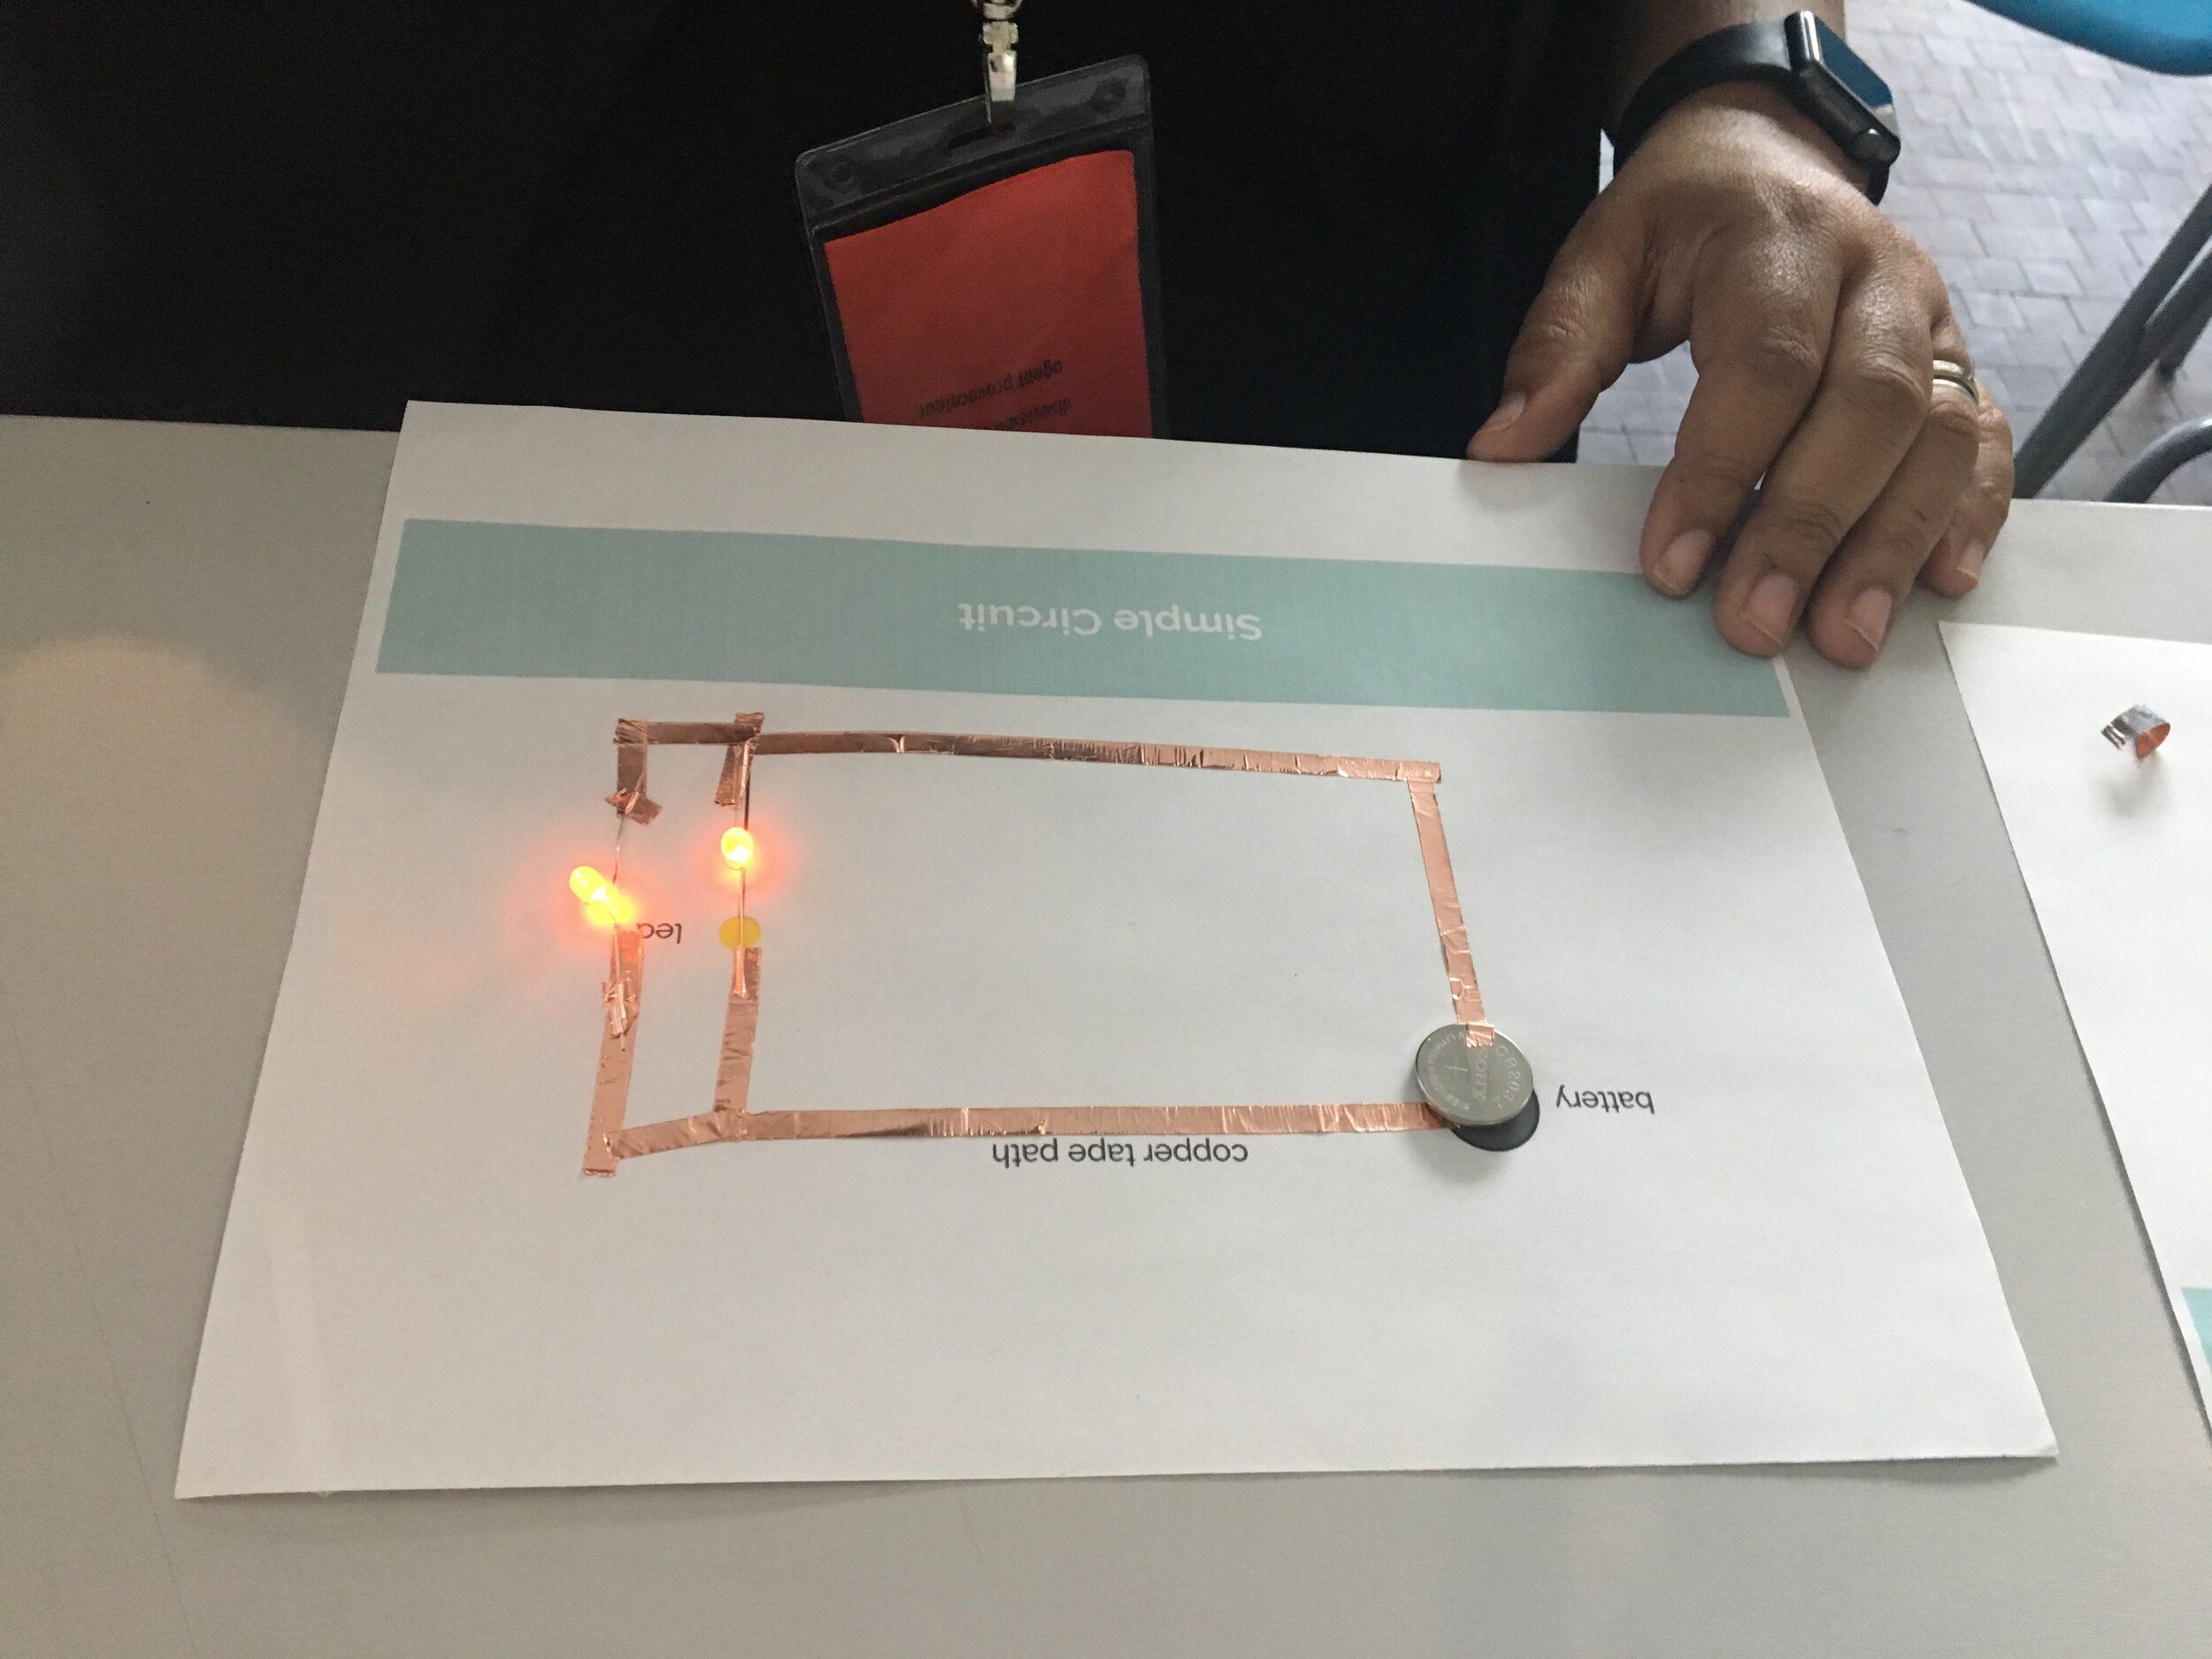
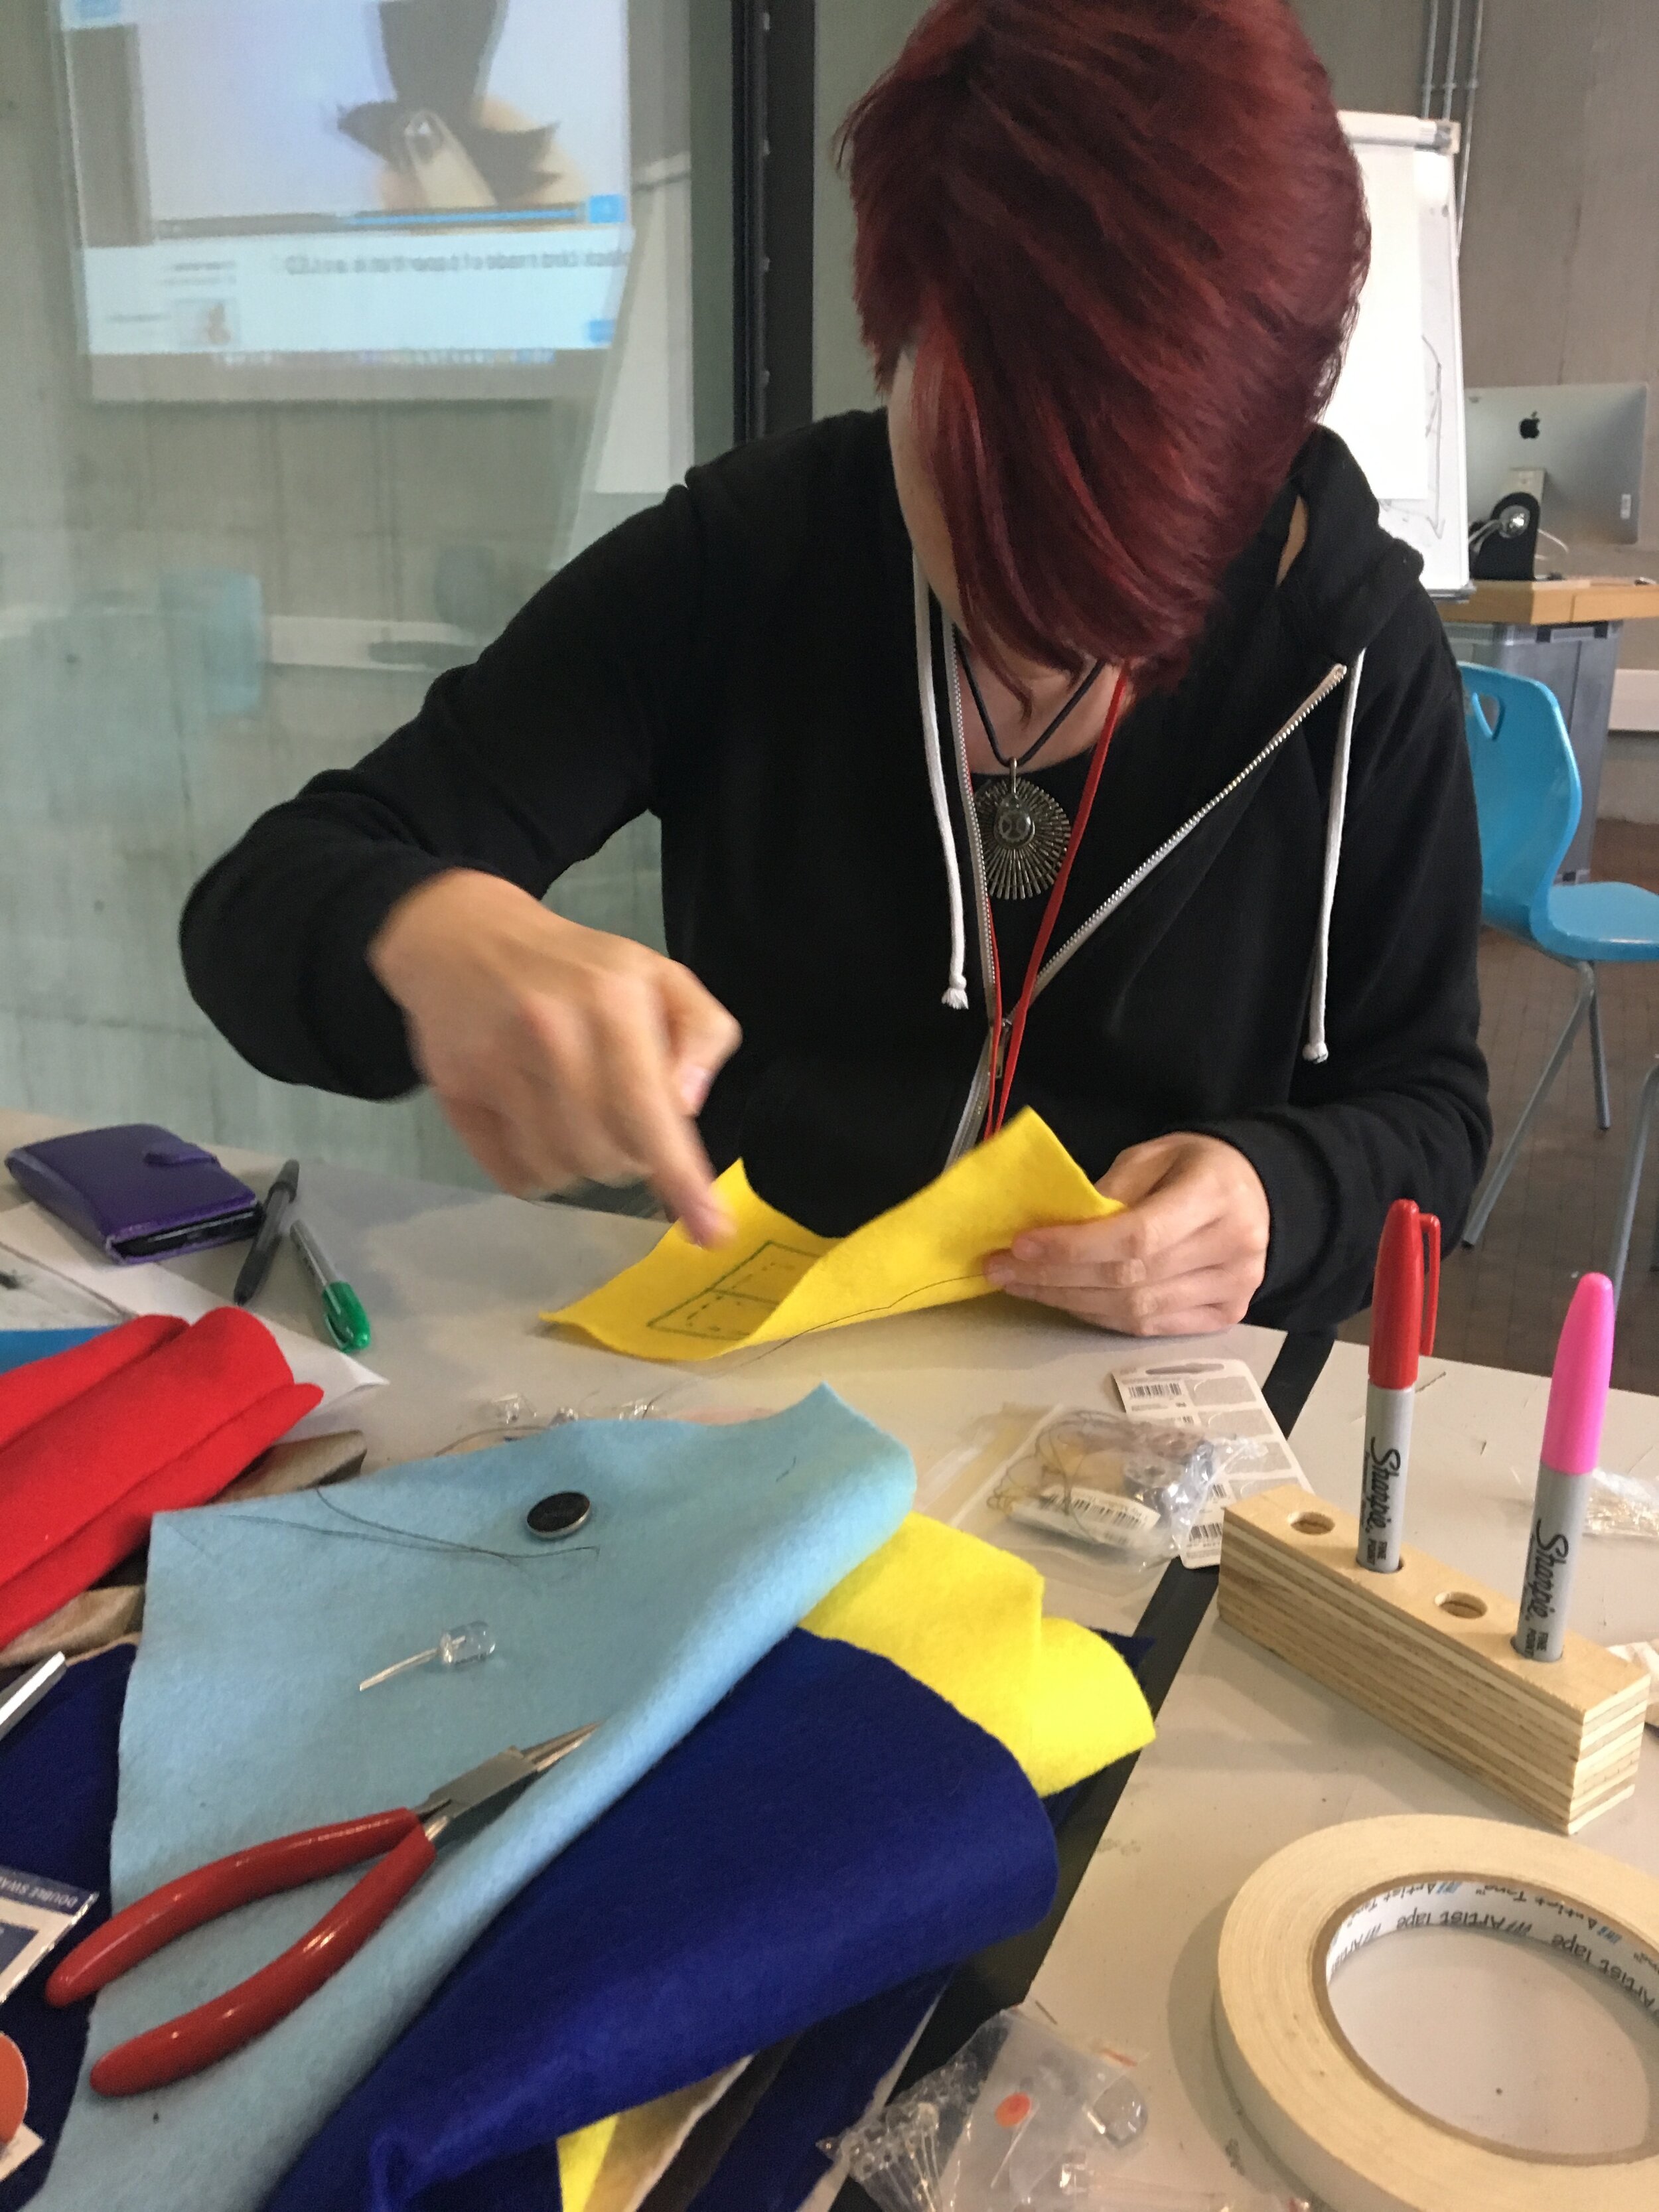
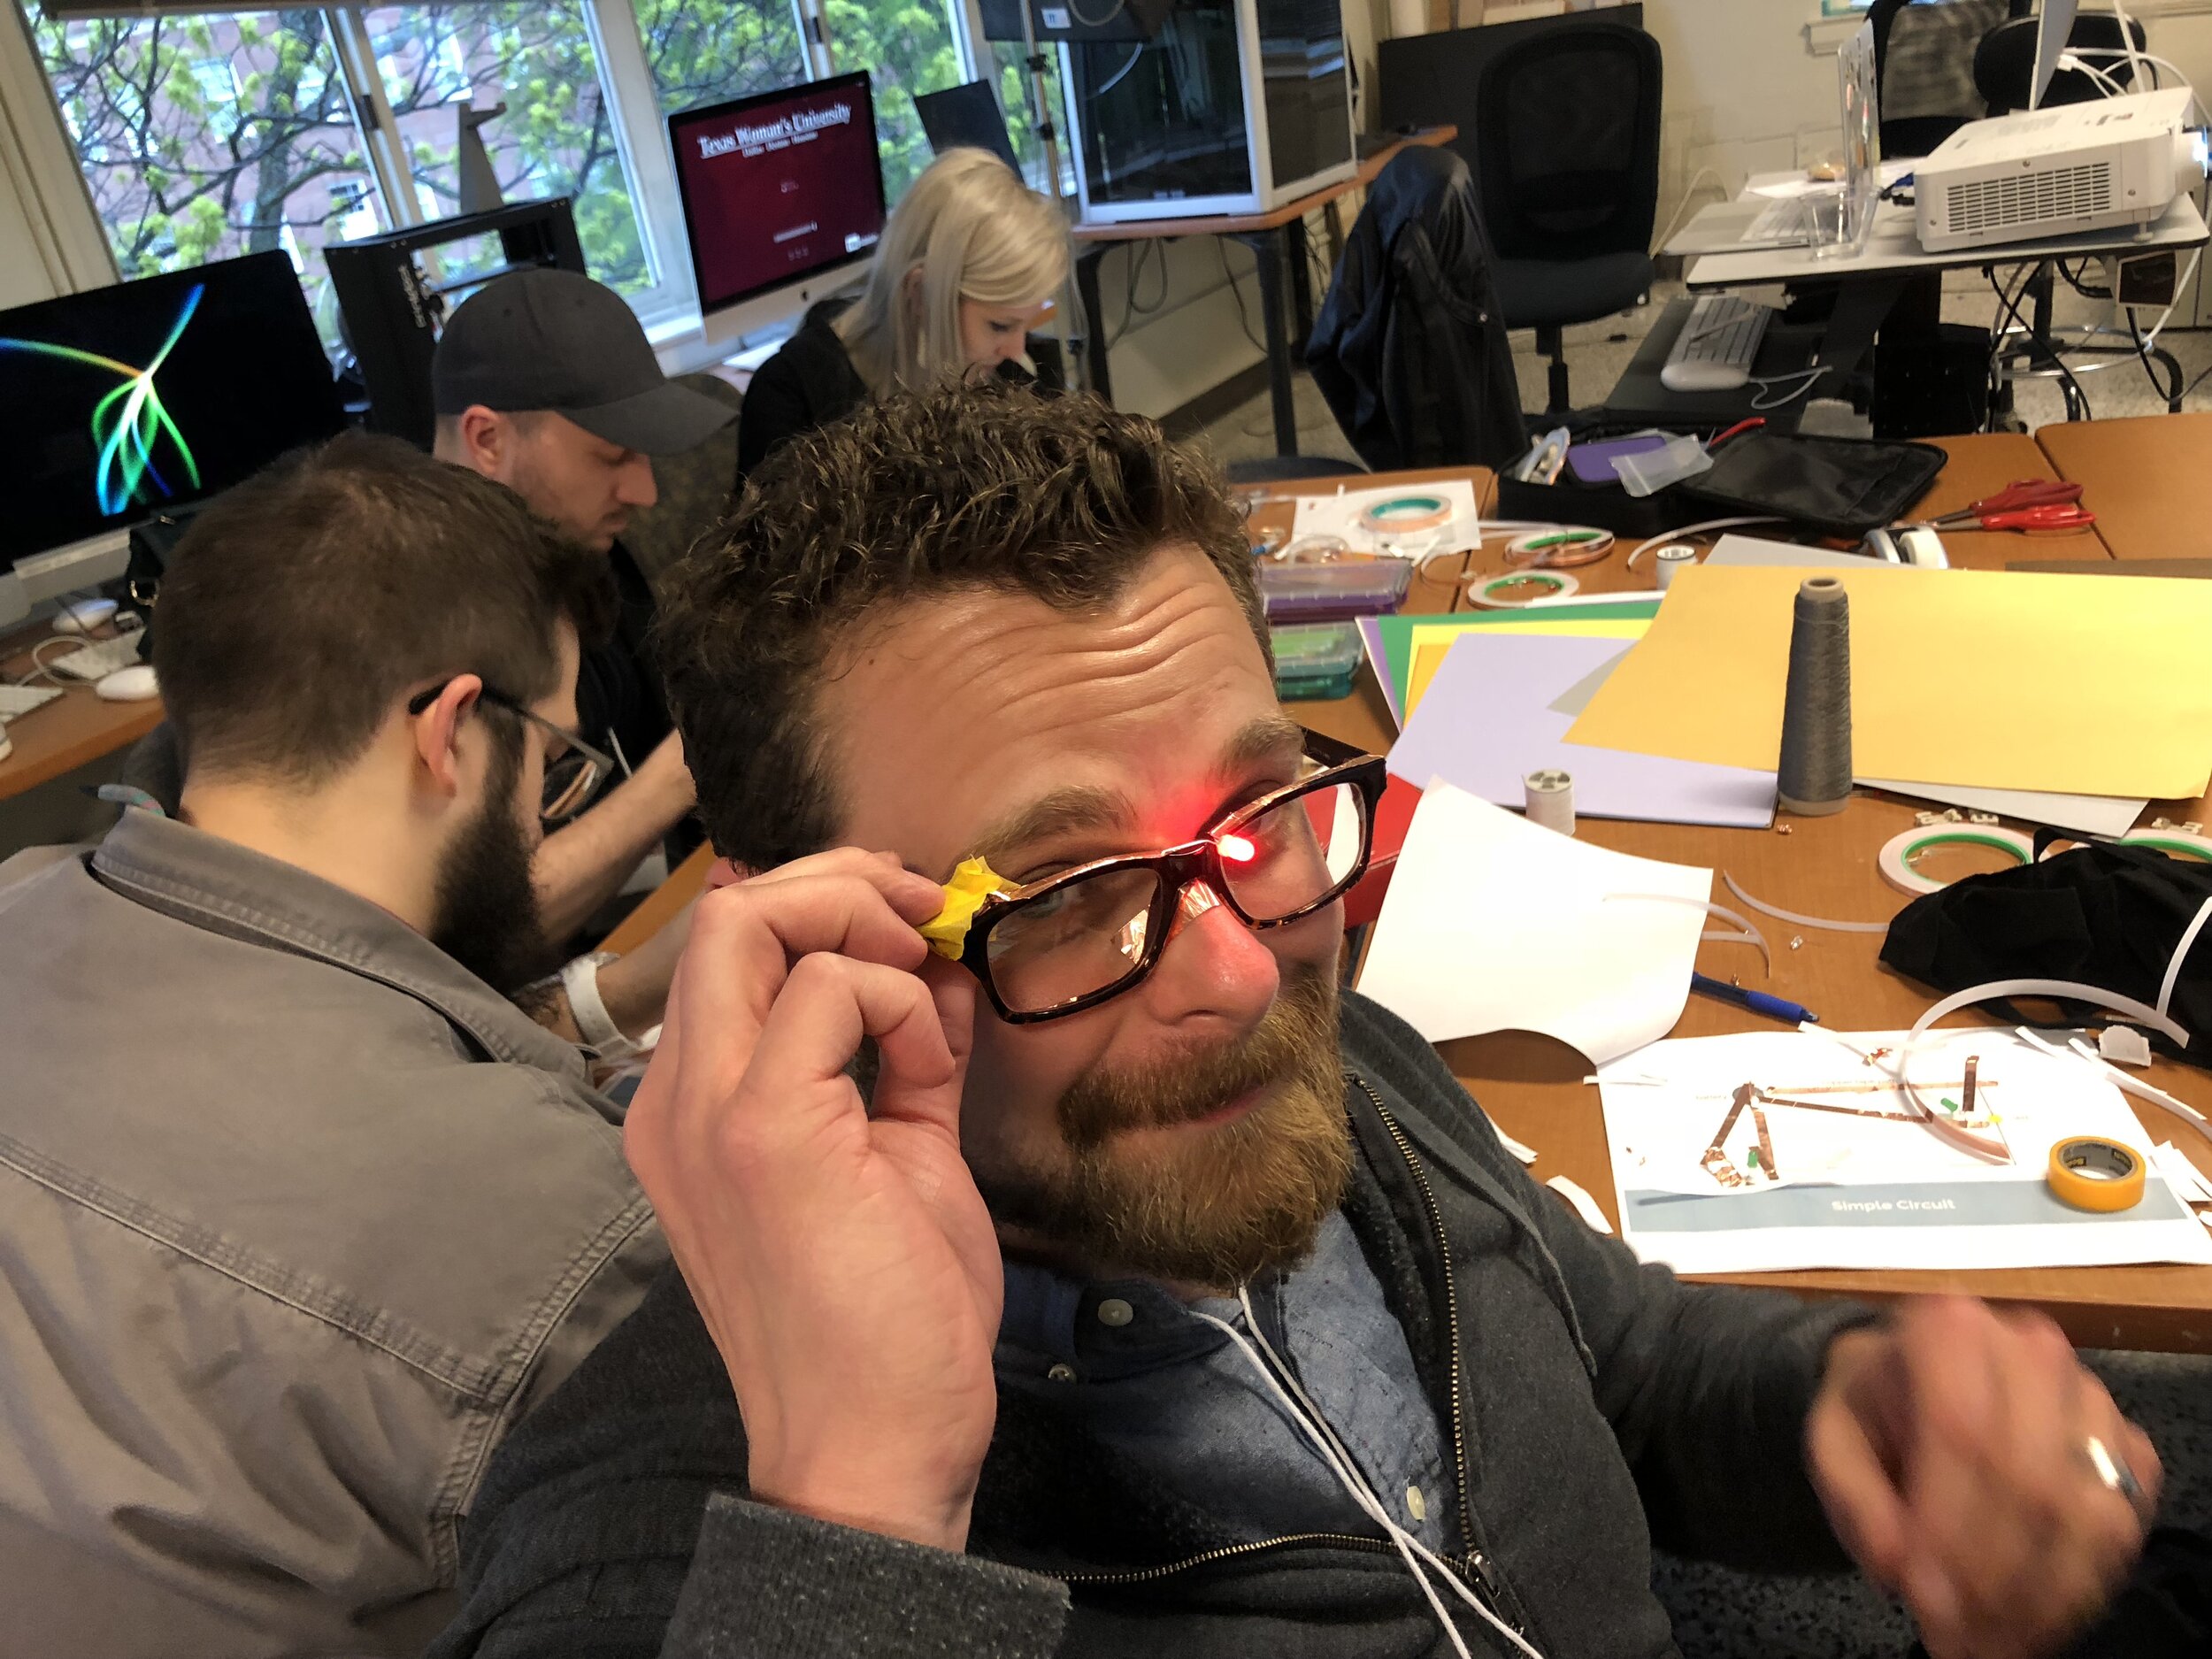
Unleash your imagination during our Code with Apple series and explore how circuits work with Niki Selken, creative director of Gray Area. She’ll show you how to craft a soft circuit using simple materials. Participants will get hands-on and experiment with paper, copper tape, and LED stickers to create a circuit of their own. Materials will be provided and all ages are welcome.

Here are some images from past soft circuits workshops I have taught:


Superhero Action Band Turorial

Image

Bam! Pow! Zap! We (Annelie & Niki) wanted to create fun, real-life superhero action sounds to bring out the superhero in each of us.

So we set about creating a movement-responsive wristbands that produces sound and light effects.

Introducing the SUPERHERO ACTION BAND!

We used a Adafruit Flora, Accelerometer, Piezo, Conductive Thread,  Li-po BatteryNeoPixels, headband and lasercut personalized plexiglass icons.  The icons were cut out of Plexiglass with a laser cutter and then attached to a store-bought headbands that we shaped with a sewing machine to fit the wrist. The Flora and accelerometer were attached with conductive thread. We then loaded the code to produce sounds and light effects depending on X,Y and Z coordinates and acceleration. The sounds were compiled from a sound library created by MIT and the lights using Adafruit NeoPixel
The hardest part was discovering the X-Y-Z access thresholds for the gestures that trigger the sound. We have three unique gesture sets that trigger three different sounds. Part of the fun is finding those gestures and discovering the sounds we programmed. We prepared this tutorial for all the superhero makers out there to make your own!

What You Will Need

Adafruit Flora Accelerometer Piezo Li-po BatteryNeoPixel A Headband Conductive Thread Solder and Soldering Iron Lasercut personalized plexiglass

library.
whatyoneed.jpg

The Process


Step #1 Laser cut the plexiglass

Here is a link to the PDF file of the bat that we created in Illustrator which you can use to Laser cut your own.


Step #2: Fitting the headband to your wrist

Take the headband and put it around your wrist. Make sure you mark where it fits you with a sewing needle or push pin. Take it off you wrist and turn it inside out to sew it closed. Make sure you leave a little room for your flora board to fit inside.

Step #3: Get the Flora up and running

First you need to download the program for the Flora from Adafruit and install it on your computer. Their website has pretty detailed instructions on how to do this.

Step #4Downloading the code
Next you will download the code from github and unzip it in your Arduino folder. Make sure that that the musical_notes.h file is in the same project folder as the superhero_wrist.ino file and that they appear as below when you open the file.

After you have opened the code in the Adafruit Arduino interface, select the Flora board. Next you will start assembling the circuit.

circuit.jpg


Step #5: Sewing the accelerometer to the wristband and the Flora

flora-accelerometer-main.jpg

Unplug the flora from your computer. Then sew the accelerometer to the flora as shown with conductive thread. Sew it to the outside of the headband, near the seam you created when you adjusted the fit to your wrist. Make sure that the thread is snuggly wrapped around each hole about three times.

Step #6: Sewing the Neopixel to the wristband and the Flora

Turn your bracelet around to the side away form the seam. This will be the front side of the wristband where you will affix the Neopixel and the plexiglass icon. Sew the Neopixel as shown onto the headband to the Flora.

floraneo.jpg

Step #7: Soldiering and sewing the Piezo to the Flora

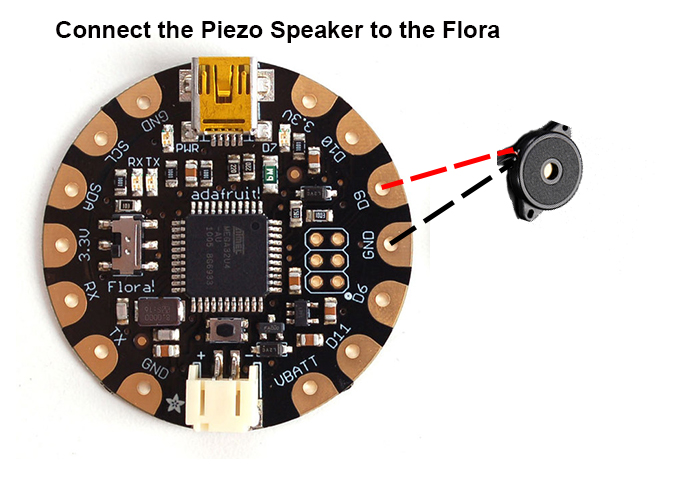
Now you will soldier the piezo speaker to the flora board. The positive (red) wire will connect to the D9 loop on the Flora. The Negative (black) wire will connect to the GND loop on the Flora. Once it is soldered, you will sew it to the wristband using the two loops on the piezo.

piezoflora.jpg
superhero-large.jpg

Step #8 Attach the icon to the wristband

Attach the laser cut icons to a store-bought headbands that we sewed to fit your wrist. Make sure to place them in the center.

Step #9 Attach the battery to the Flora and watch the wristband go!


Make Trump Drumpf Again!

After an exhausting season of Donald Trump Running for President of the US I became fatigued with seeing him on my Facebook feed. I decided to do something about it. As John Oliver so brilliantly pointed out, his original family name was Drumpf: 

I decided to make a plugin for Chrome that literally makes Trump Drumpf again on Facebook. Yes, all you have to do is install one little plugin and your Facebook page can look like this: 

Check it out on the Chrome Extension Web Store!

How to not make ugly circles in Open Frameworks

I was teaching a creative coding class at Parsons and my students were tasked with making some circles bounce on the screen. But once we got the demo sketch running, we realized that Open Frameworks makes ugly circles by default. They look like this guy ---->

After some searching around on the internet for help I realized that ofEnableSmoothing() would not fix the problem as it only works on lines and the other solution I found broke my code. After some searching on the documentation I learned the way to turn ugly circles into awesome circles. Its called ofSetCircleResolution!

Just place it in the code where you want to draw a circle and voila! A nice smooth circle. The circle below is drawn with a circle resolution of 100. The default resolution for a circle is 22, which looks rather bumpy. Check out the code below.

void ofApp::draw(){
    ofSetCircleResolution(10);
    ofCircle(150,150,100);          //draws a rough circle
    ofSetCircleResolution(100);
    ofCircle(450,150,100);          //draws a fine circle
}

If you want to get really meta you can change the resolution to 3 and get some sweet triangles. 

Accent Express

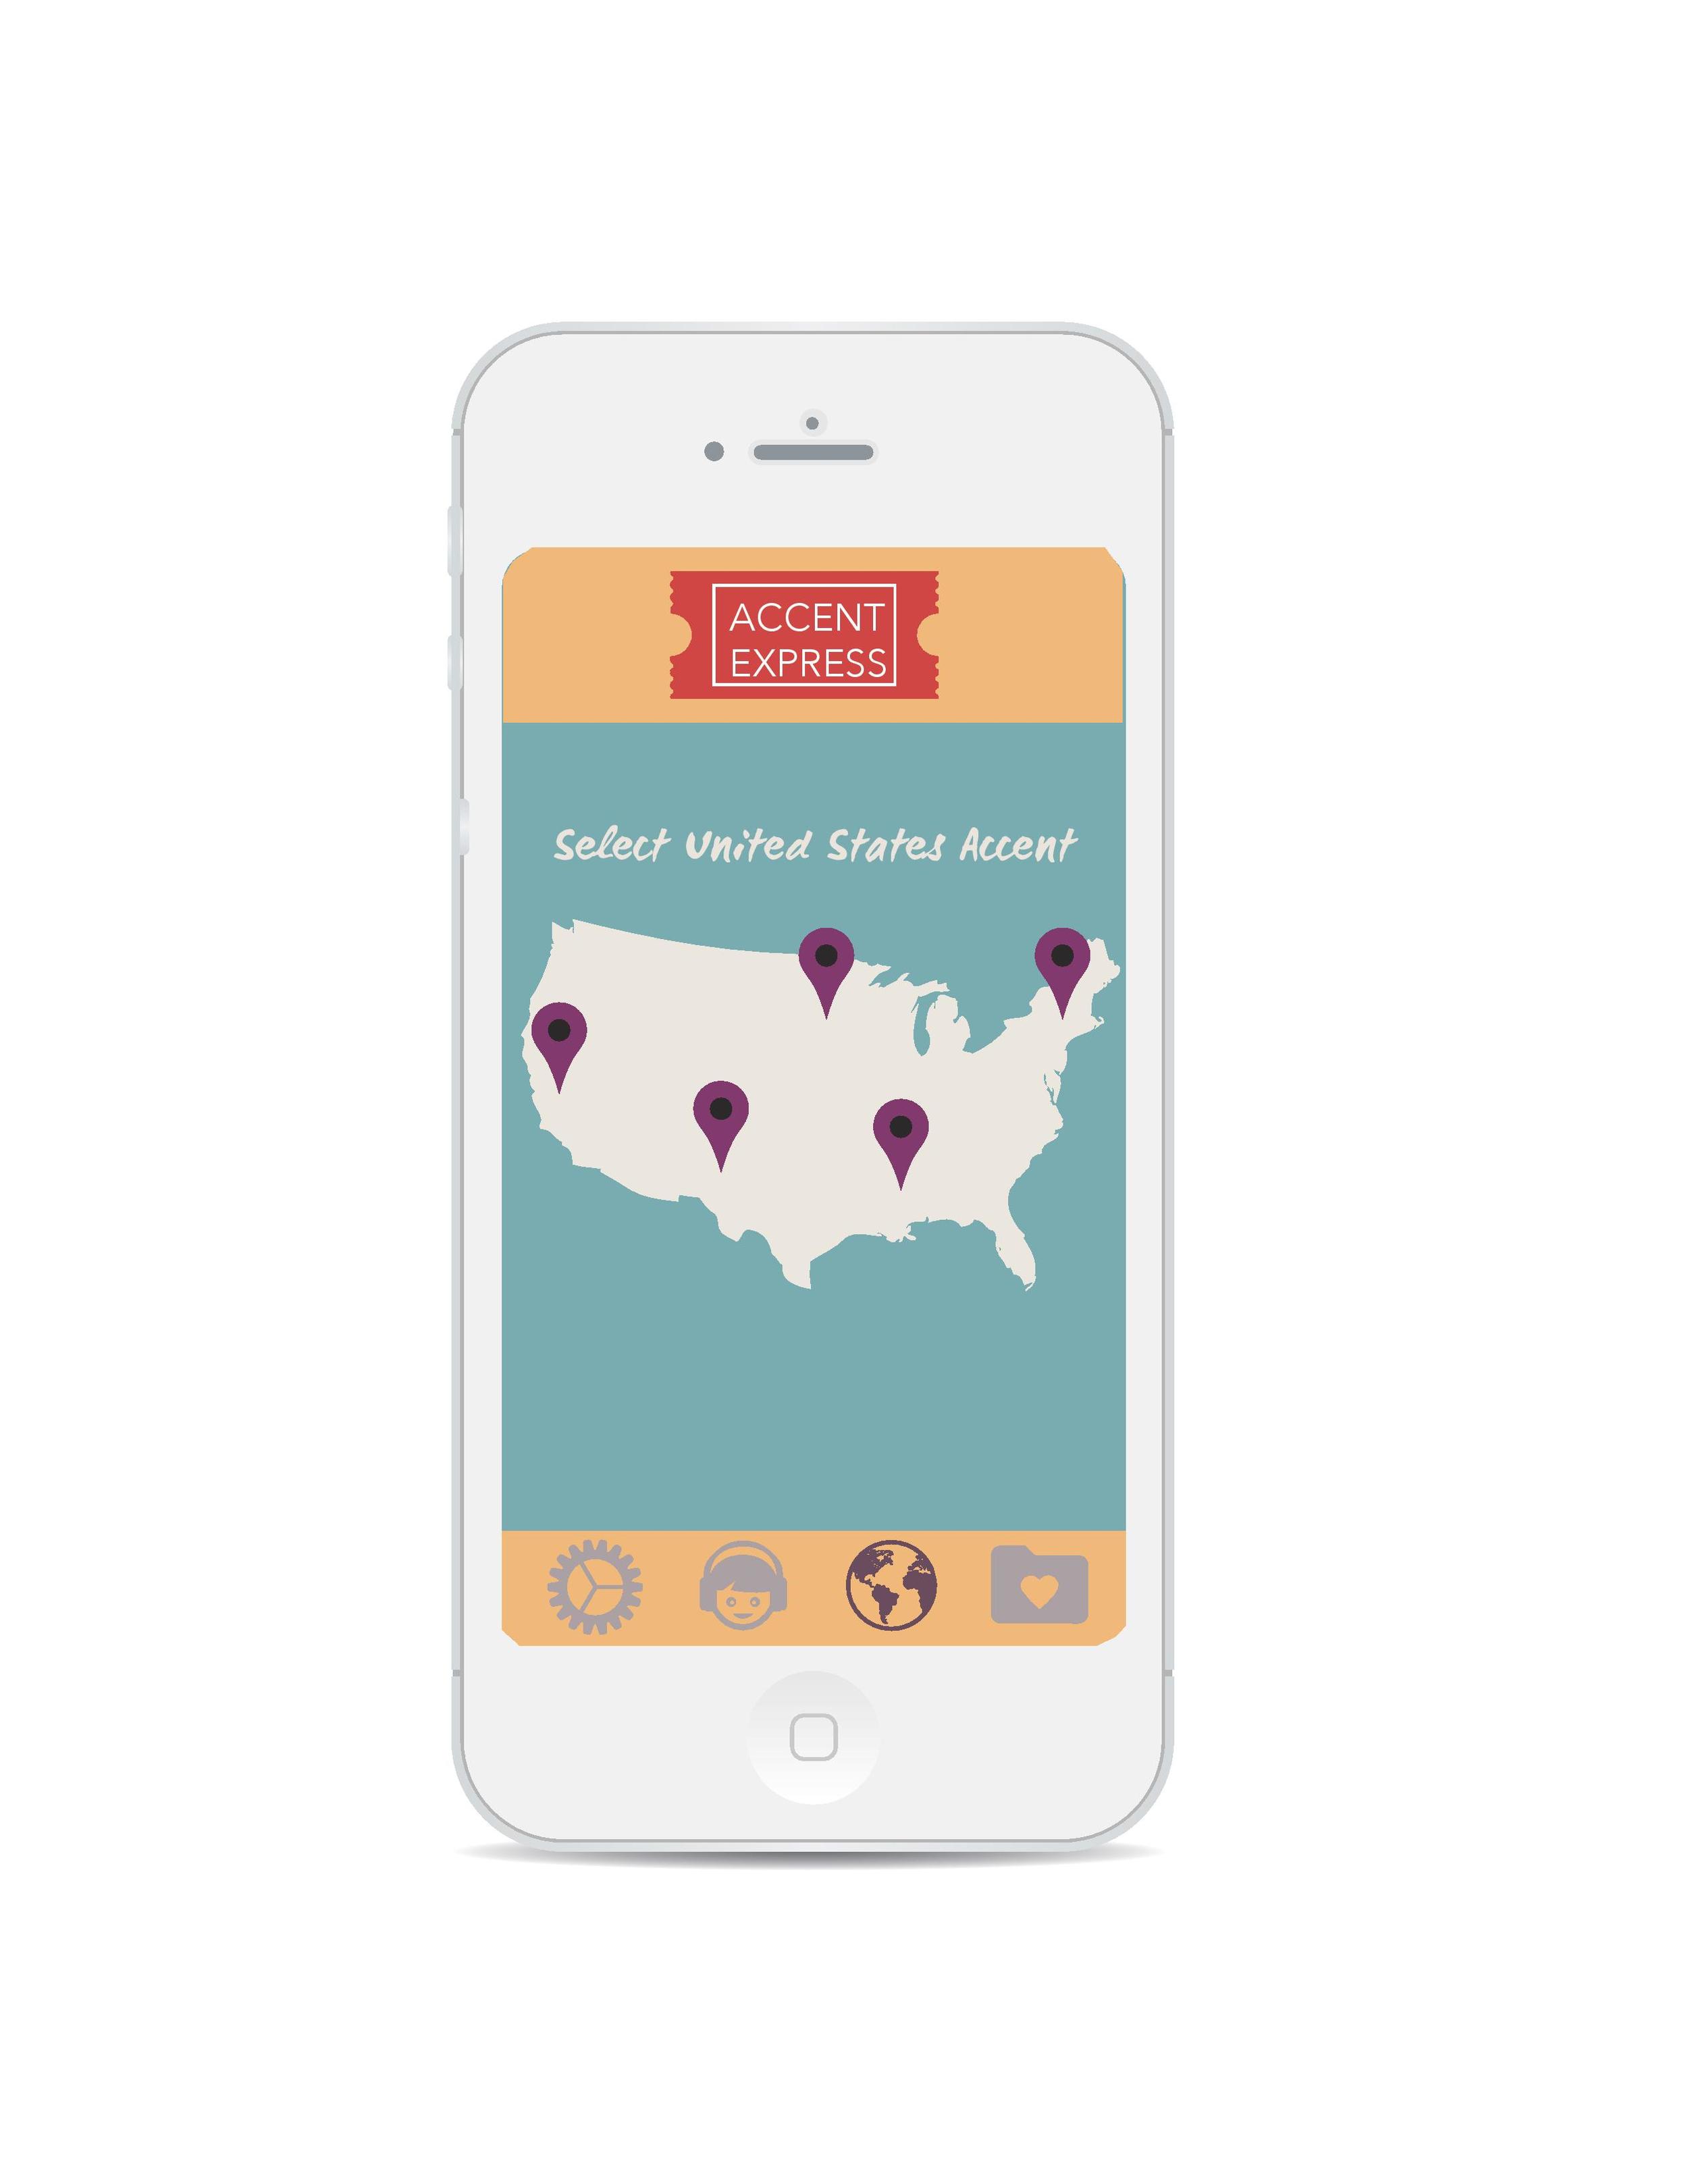
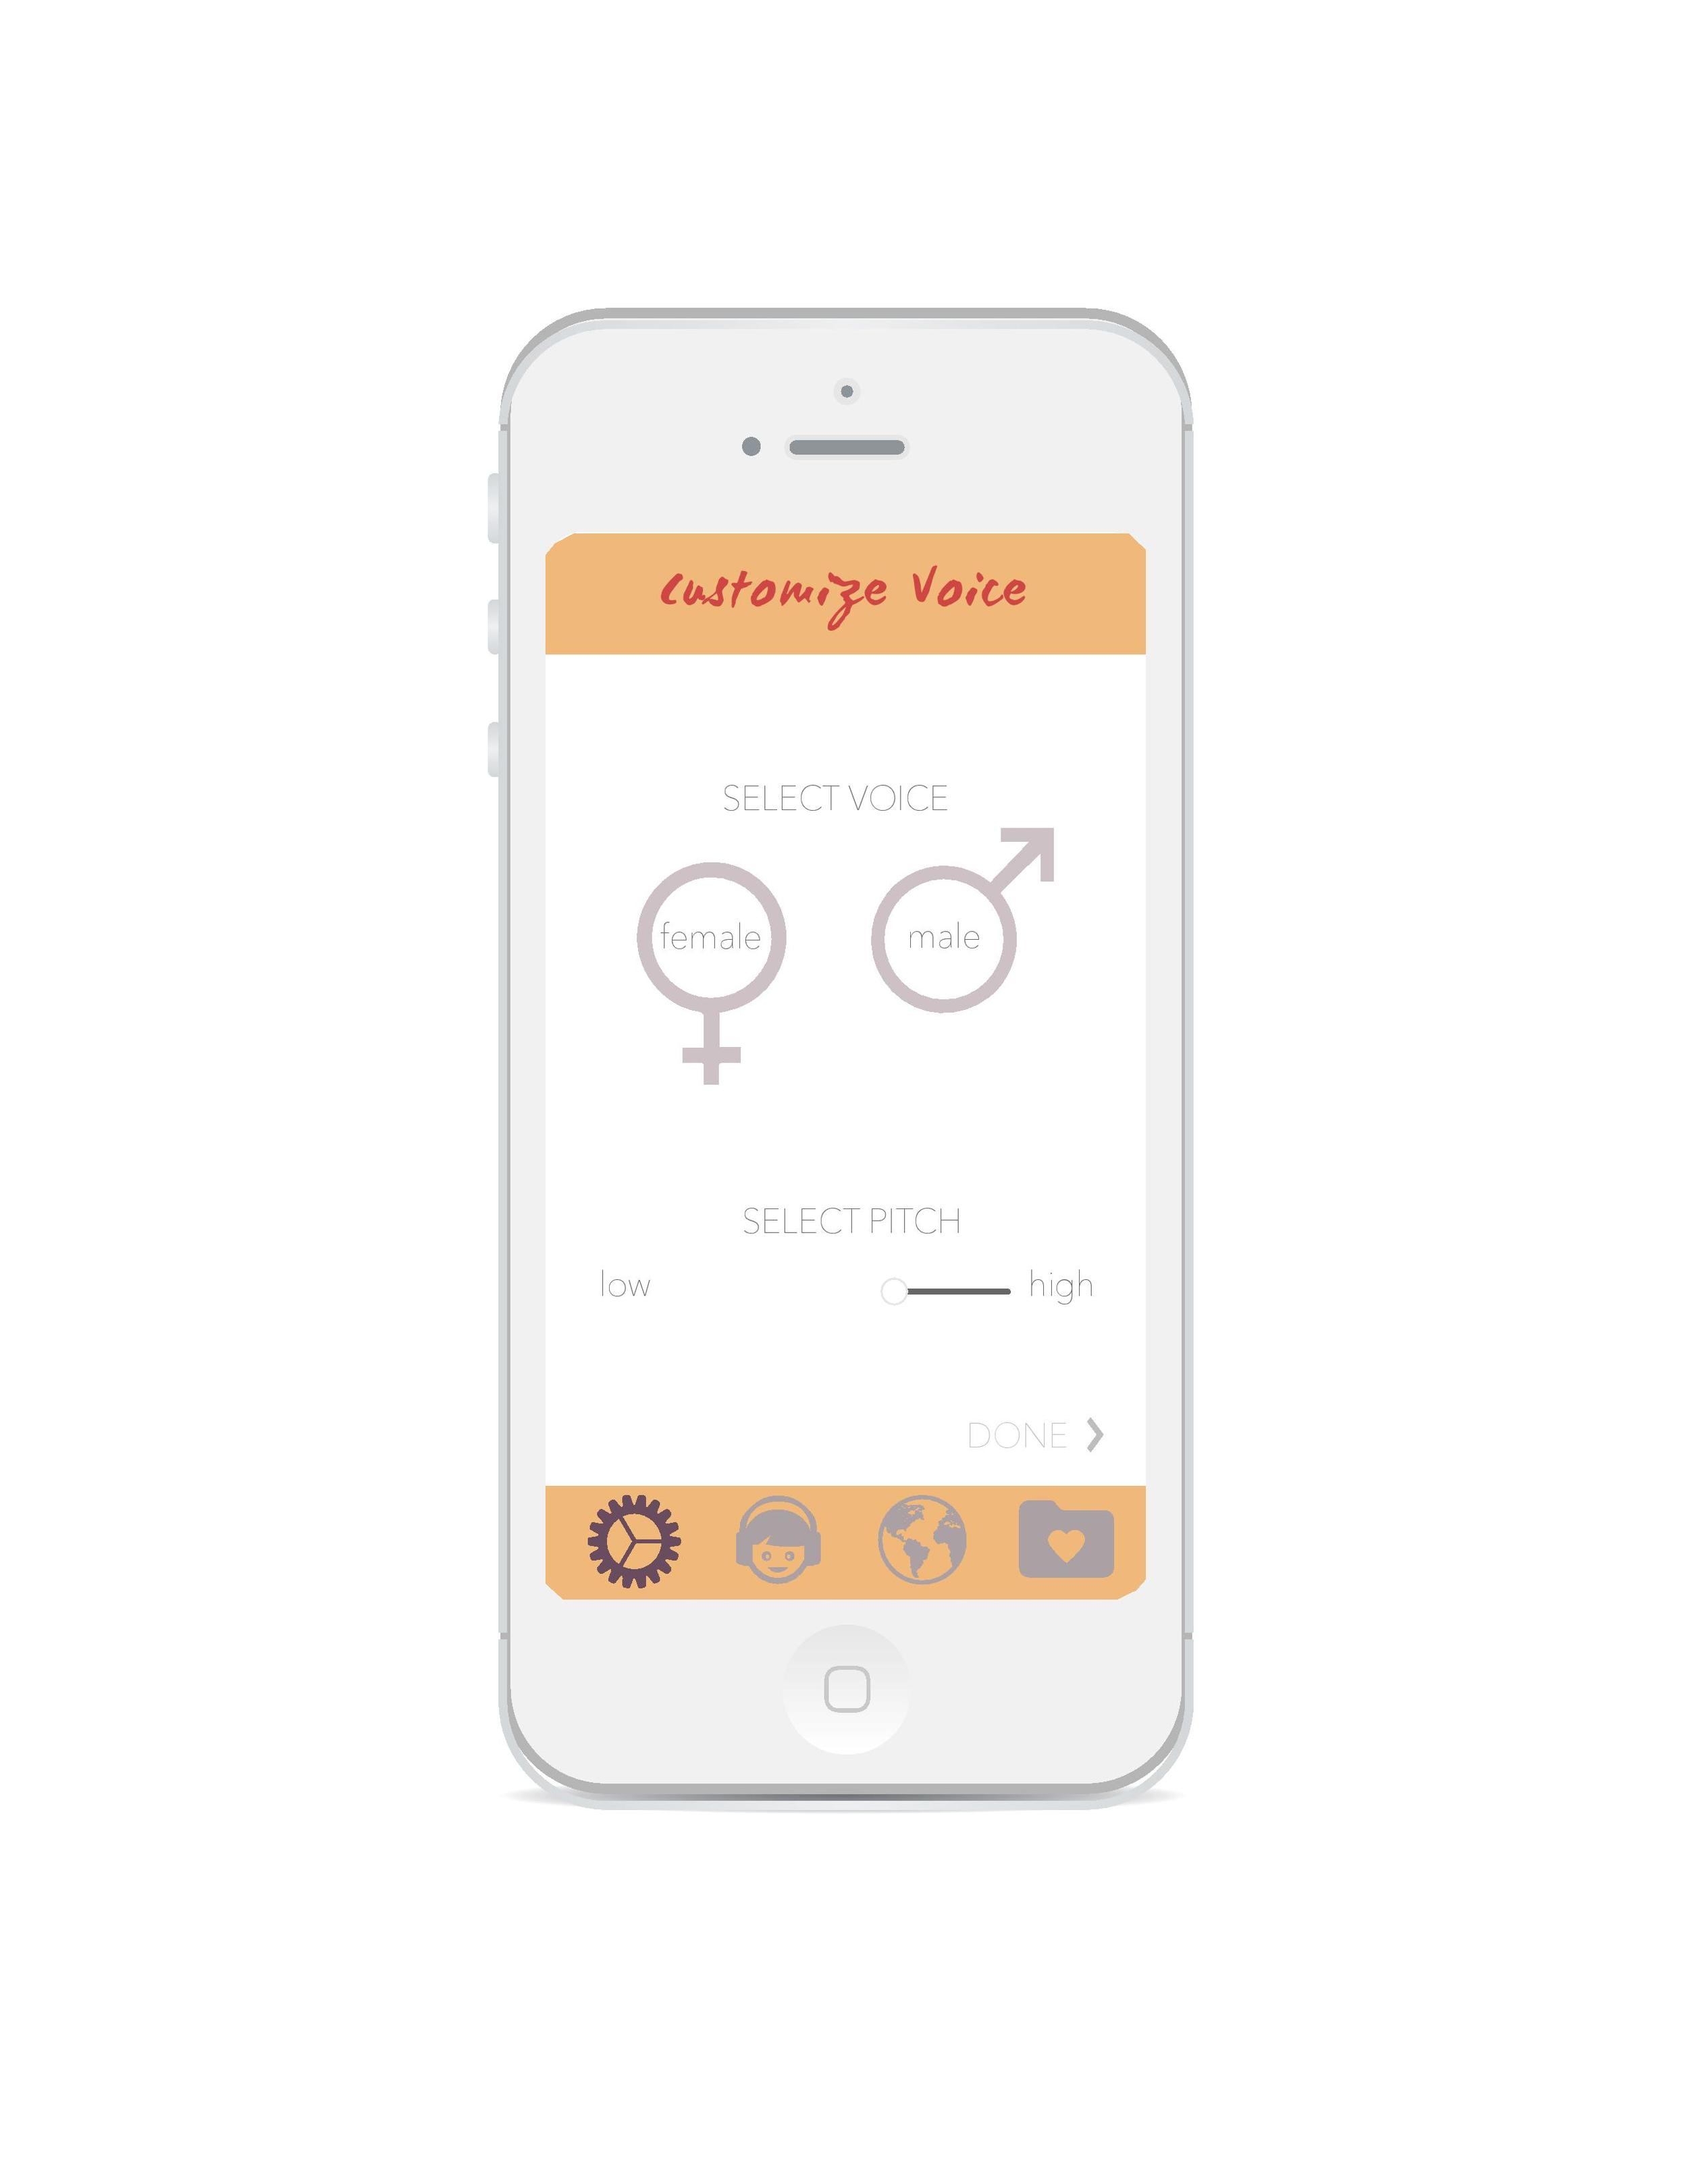
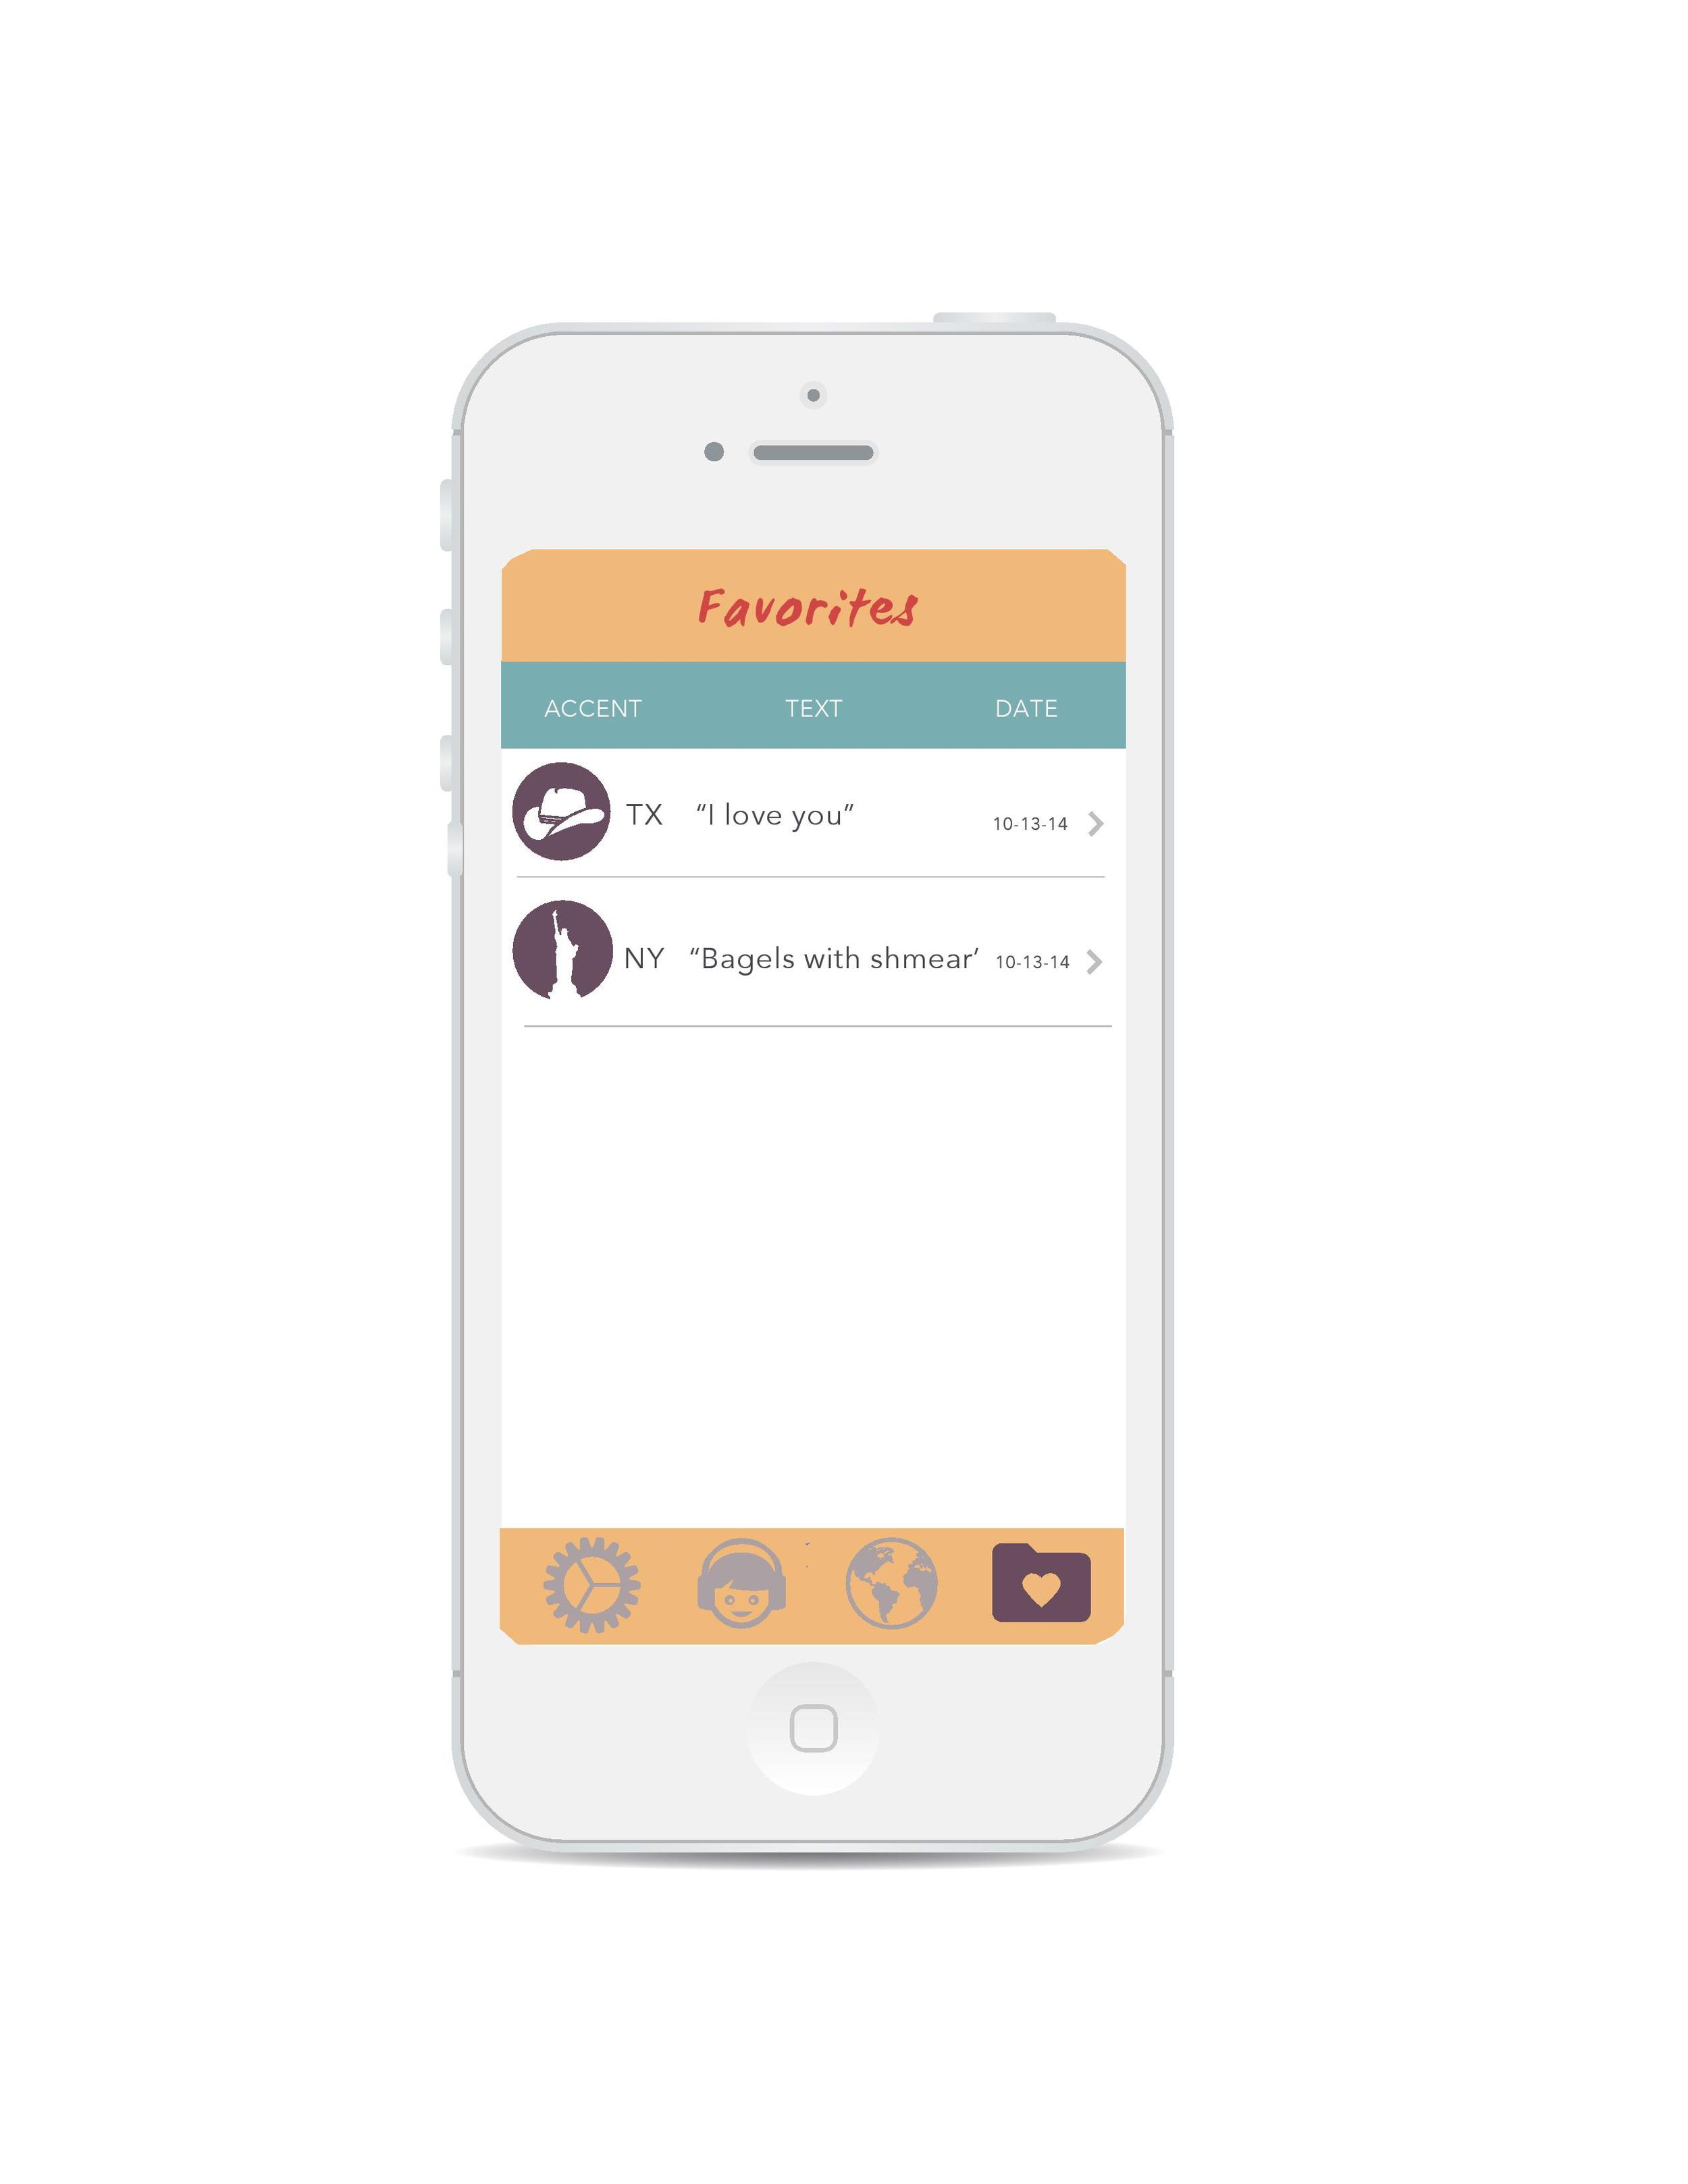
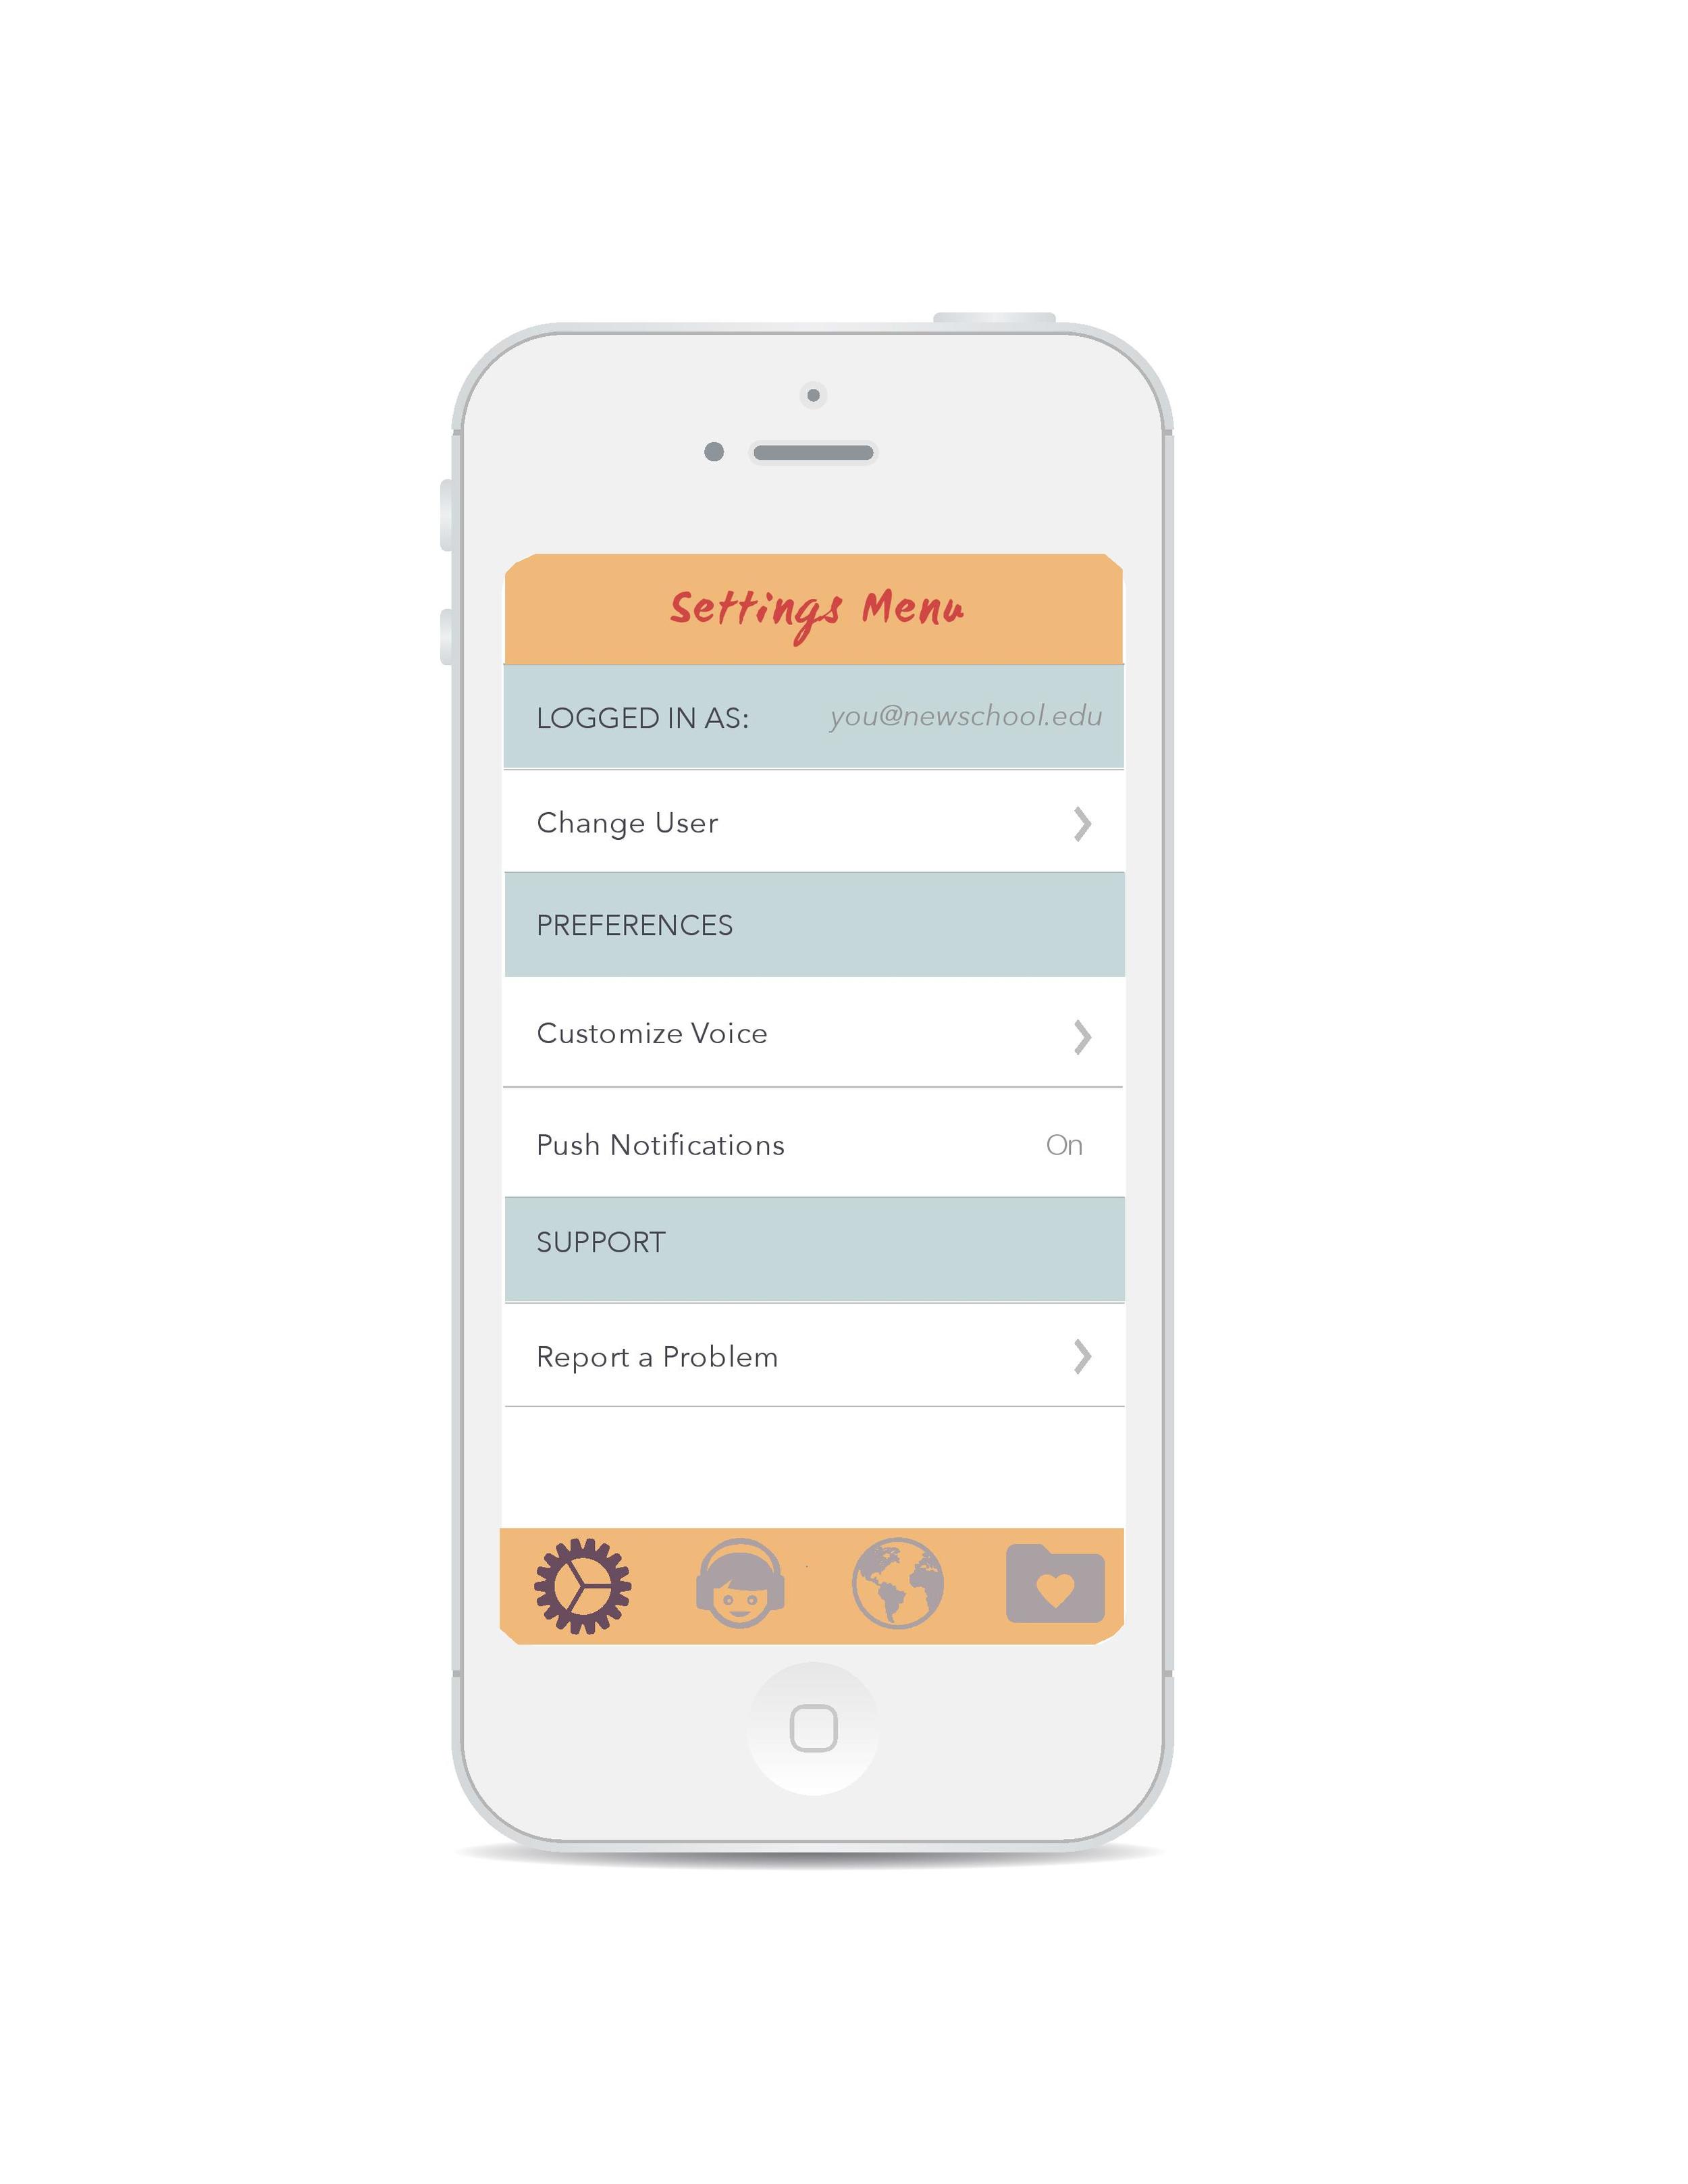
Accent Express is a fun iOS mobile app prototype designed by Niki Selken, Reut Ringle, and Xiaoyi Zhang at Parsons. It allows users to learn different accents and share their progress over social media by creating small audio recordings of their accent attempts. 

New York Public Library Heuristics Report

This semester I am taking Design for Usability at Parsons with Morry Galonoy. I created my first Heuristics Evaluation with Yu-Chien Kao about the New York Public Library Website. The evaluation uses a set of ten heuristics suggested by Jakob Nielsen. We also used Neilsen’s severity rankings scale to help the (imaginary) client tackle the most severe usability issues in a sensible order. You can view it below or download it

Jar of Fireflies

This is a firefly jar made with Arduino code programmed onto a Gemma. I also used LED string lights from Sparkfun, copper tape, glue, paper, solder, a rechargable 3.7 V battery and a Ball Jar. The light turns on with a twist of the lid. More on Nikiselken.com

The Jar of Fireflies is the second iteration of a firefly lamp I made with one string of lights. I wanted to make a jar of fireflies that felt more organic than the first one I made. I also wanted to make the switch as simple as a turn of the jar lid. I wanted to create a magical feeling of organic and glowing objects. This object could function as a nightlight or centerpiece for an indoor or outdoor table-setting. It is for anyone who likes mysterious and magical objects. Check out my instructable on how to make it!

The biggest challenge was finding out what kind of resisters to use with the cut up light strings. I read on some forums and discovered that 47 Ohm resistors were needed. I then soldered them to the positive leads of each light string before connecting that to the Gemma. then I had to attach copper tape to the lid rim on the inside. I also soldered the negative lead from  the battery cable to copper tape and placed that in the lip of the jar. So when someone closes the lid the two copper pieces make contact and that completes the circuit to send power to the gemma and start the lights going.

Some of the things you will need

The Firefly Jar is made with Arduino code programmed onto a Gemma. I also used LED string lights from Sparkfun, copper tape, glue, paper, solder, a rechargable 3.7 V battery and a Ball Jar. The light turns on with a twist of the lid. Code on Github.

The Jar of Fireflies built with Arduino code and Adafruit Gemma